Here’s how to keep that 5VZ-FE running smooth and leak free.

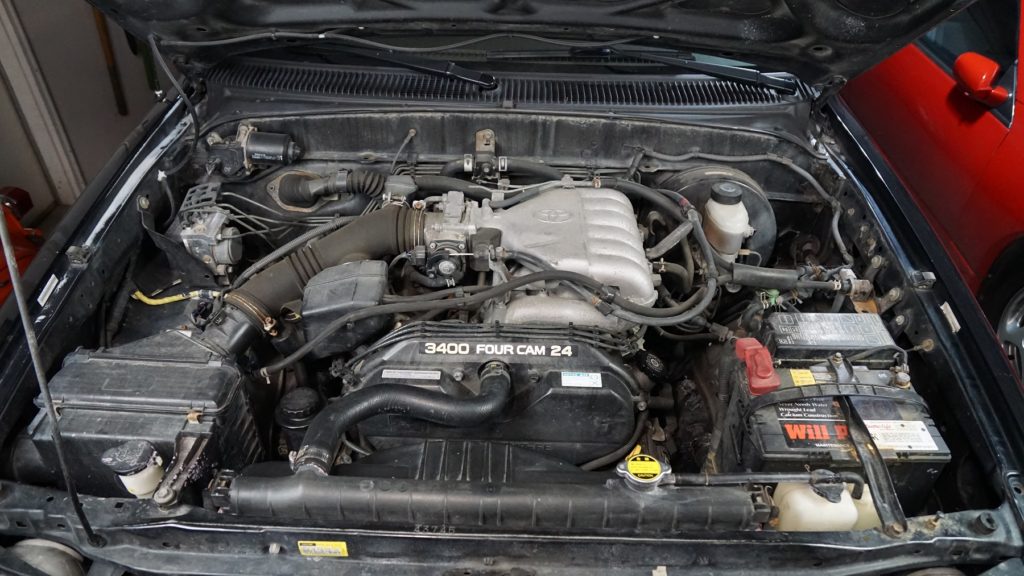
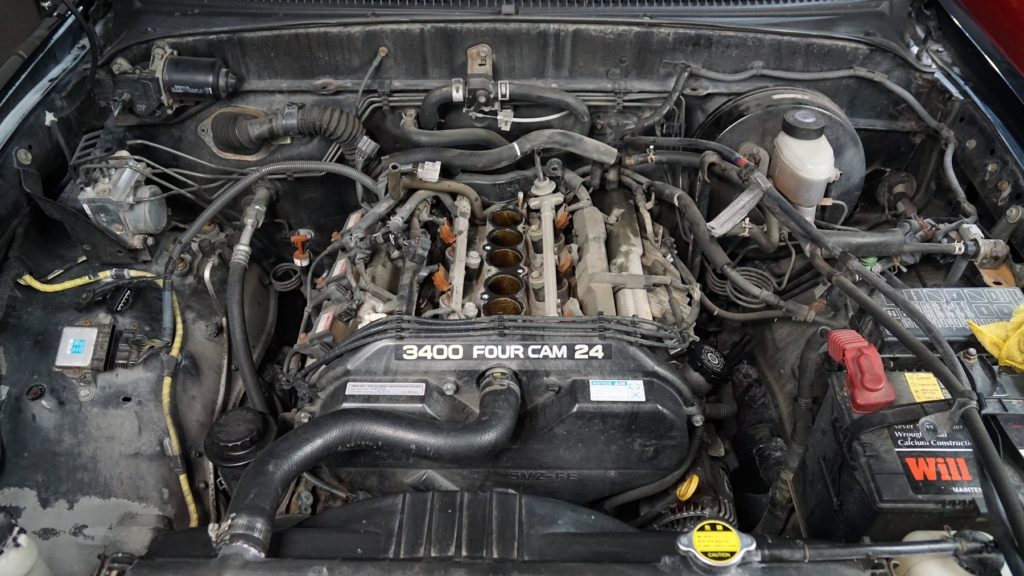
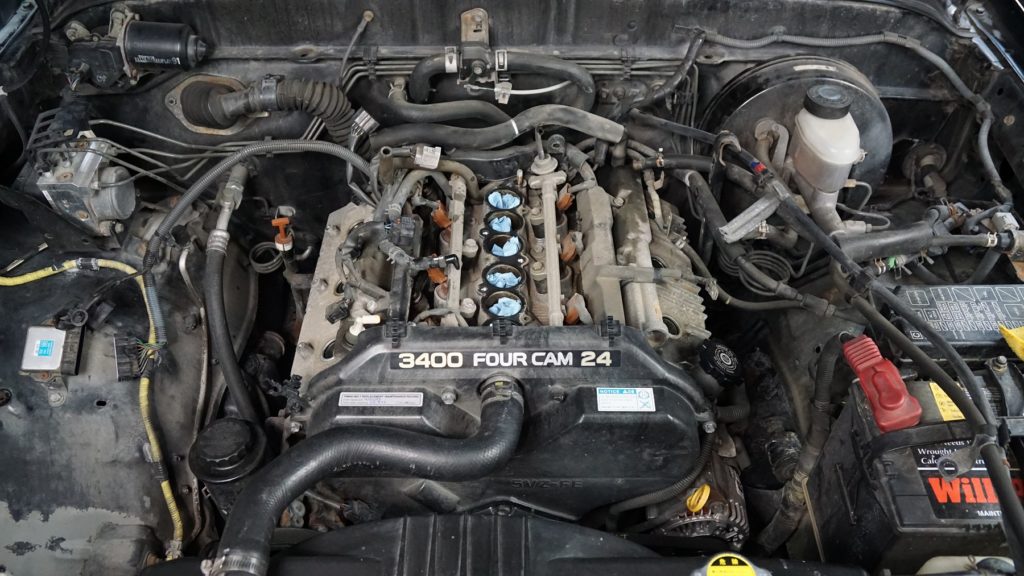
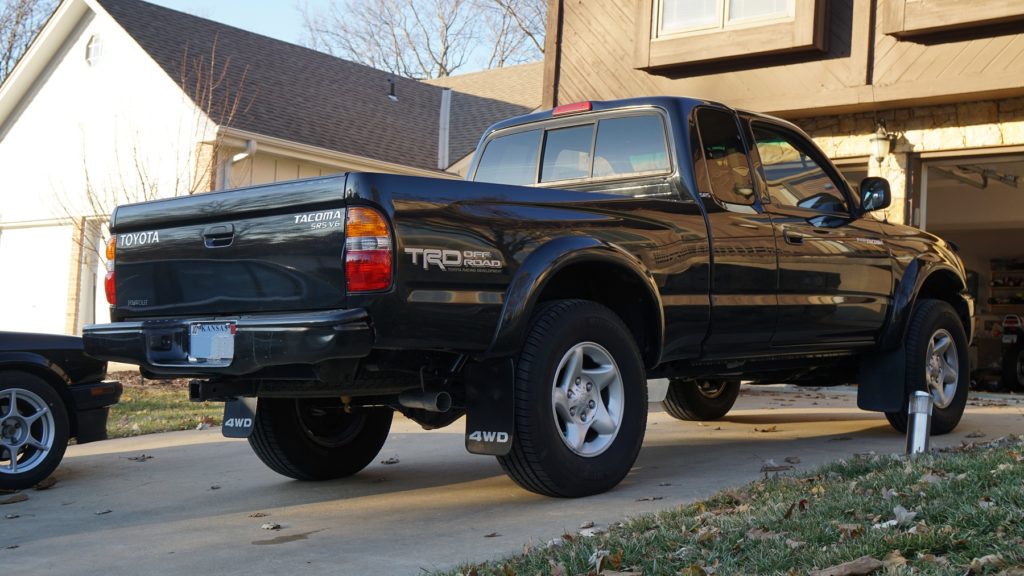
With over 130,000 miles on my 2003 Toyota Tacoma, it was time to undertake a bit of maintenance that often gets overlooked: a valve adjustment.
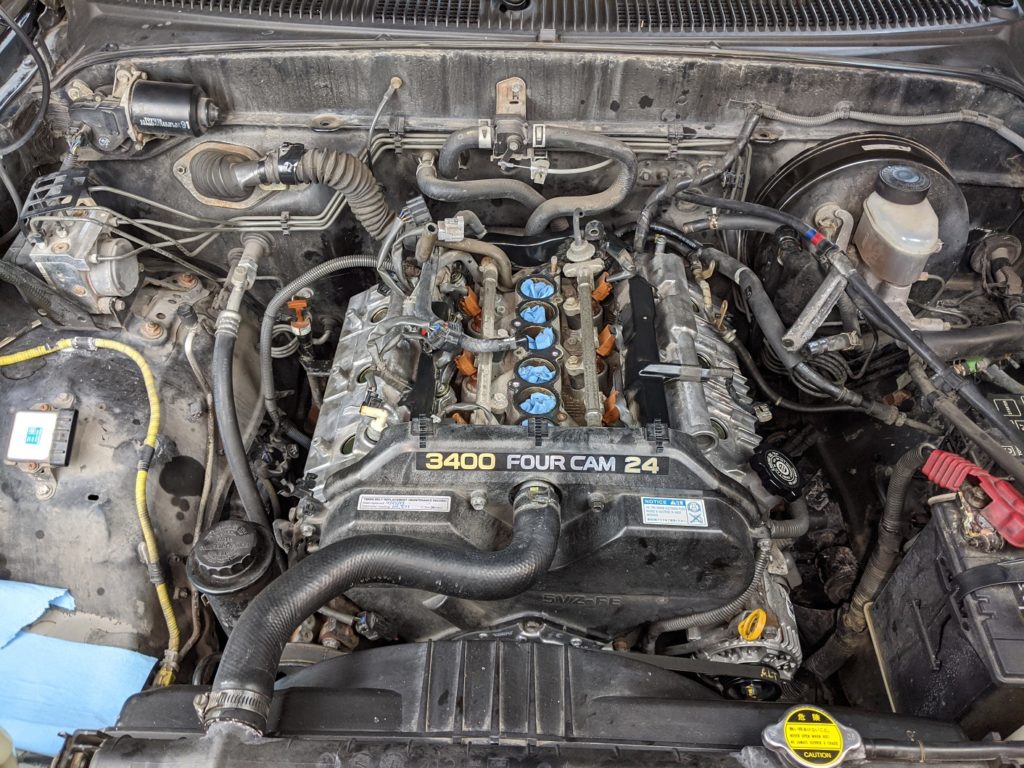
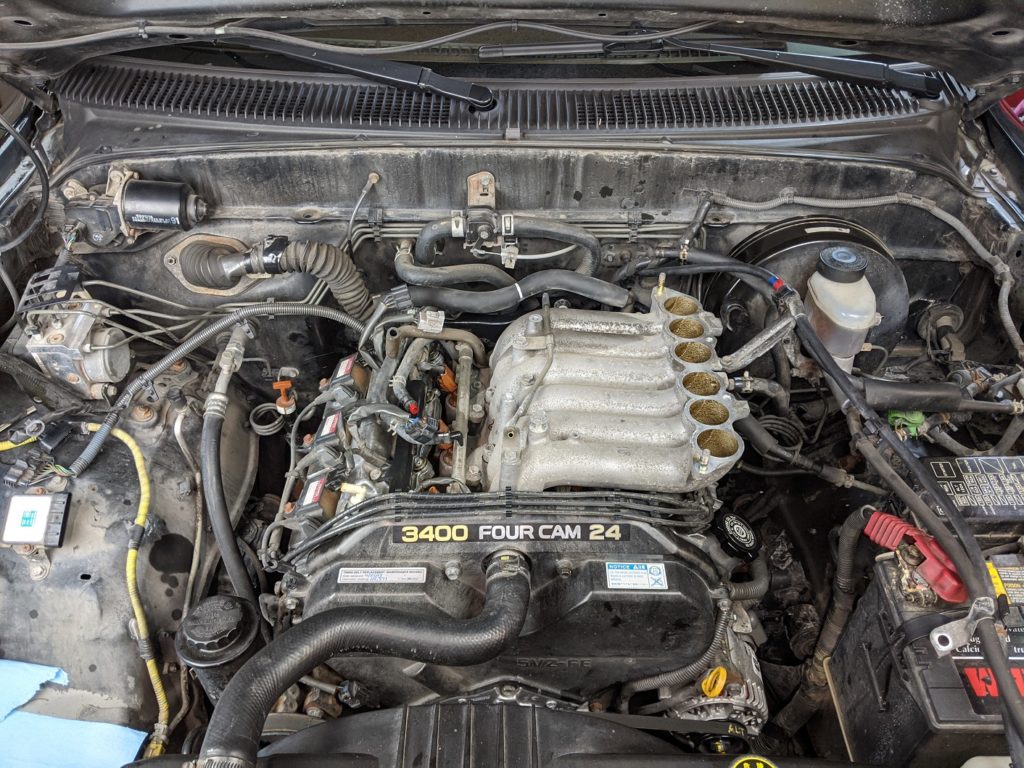
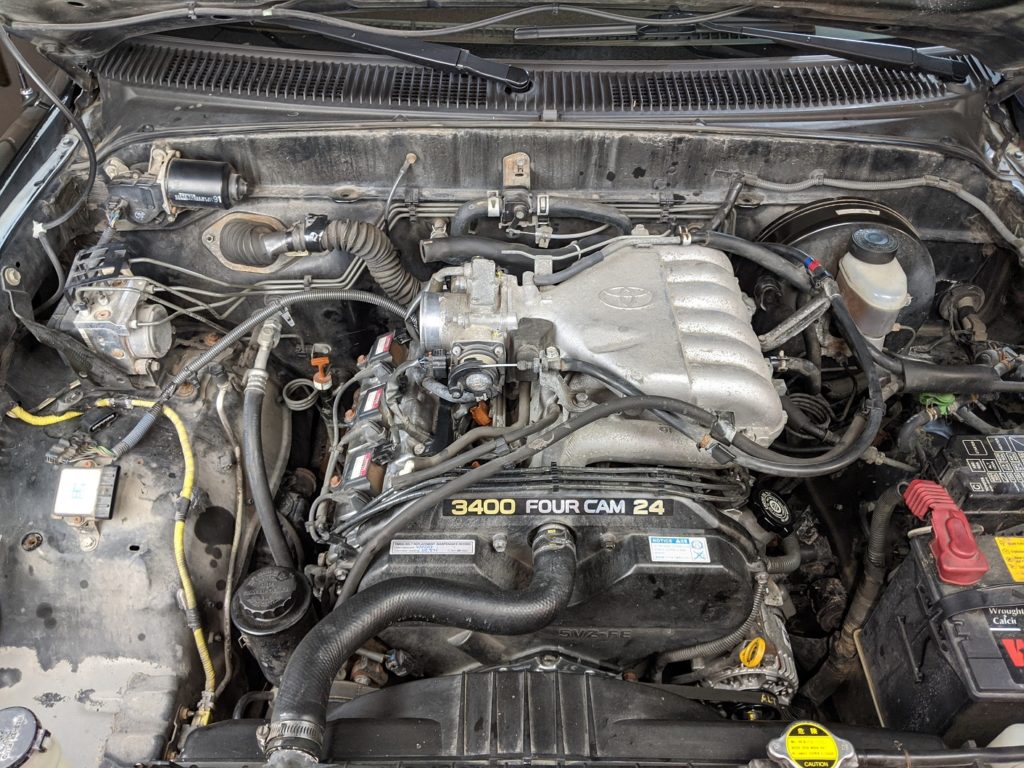
The 3.4-liter V6 engine that Toyota dubbed the “5VZ-FE” was stuffed into nearly every US-market Tacoma and 4Runner they produced between 1995 and 2004. It’s a stout, reliable, and resilient powerplant (if not a little thirsty). Still, the engine calls for a valve clearance check and adjustment to be performed every 60,000 miles. While I don’t have any statistics on the matter, I think it’s safe to say that most of these engines don’t get it – ever.
The reasoning for this lack of prescribed maintenance is two-fold. Firstly, these engines continue to run perfectly without ever getting a valve adjustment. And secondly, the adjustment is simply a pain in the butt to do.
It’s Difficult, Here’s Why
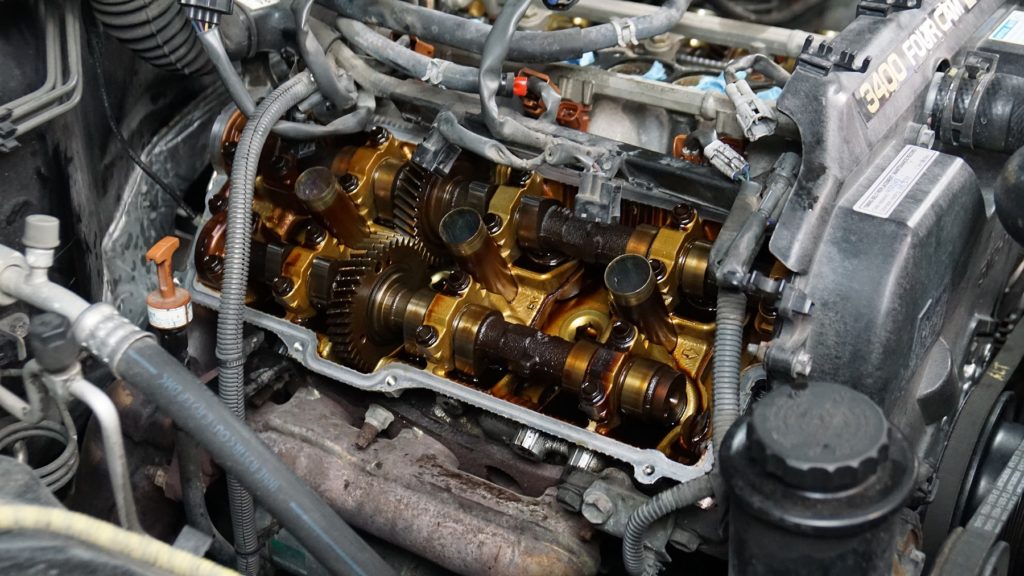
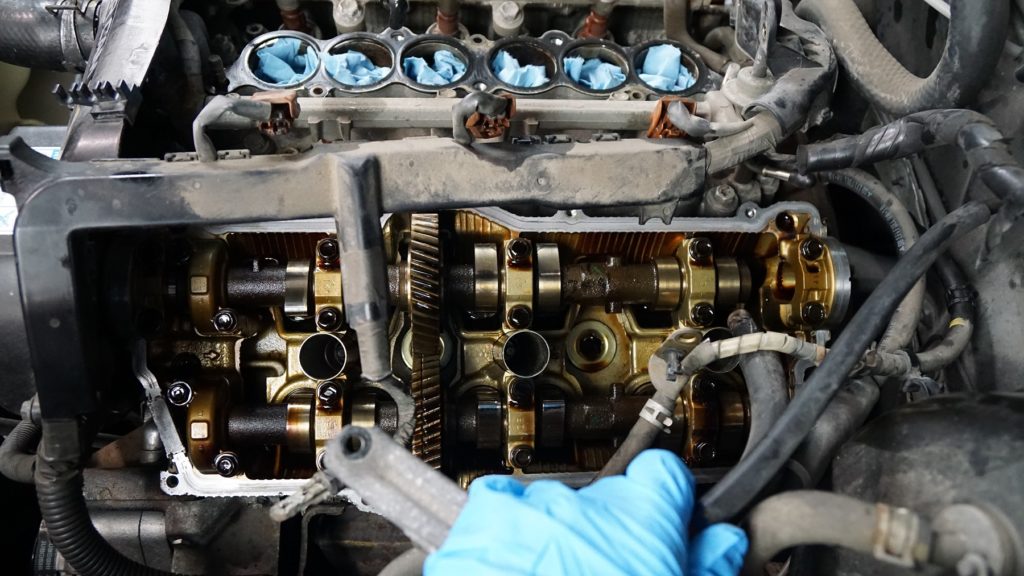
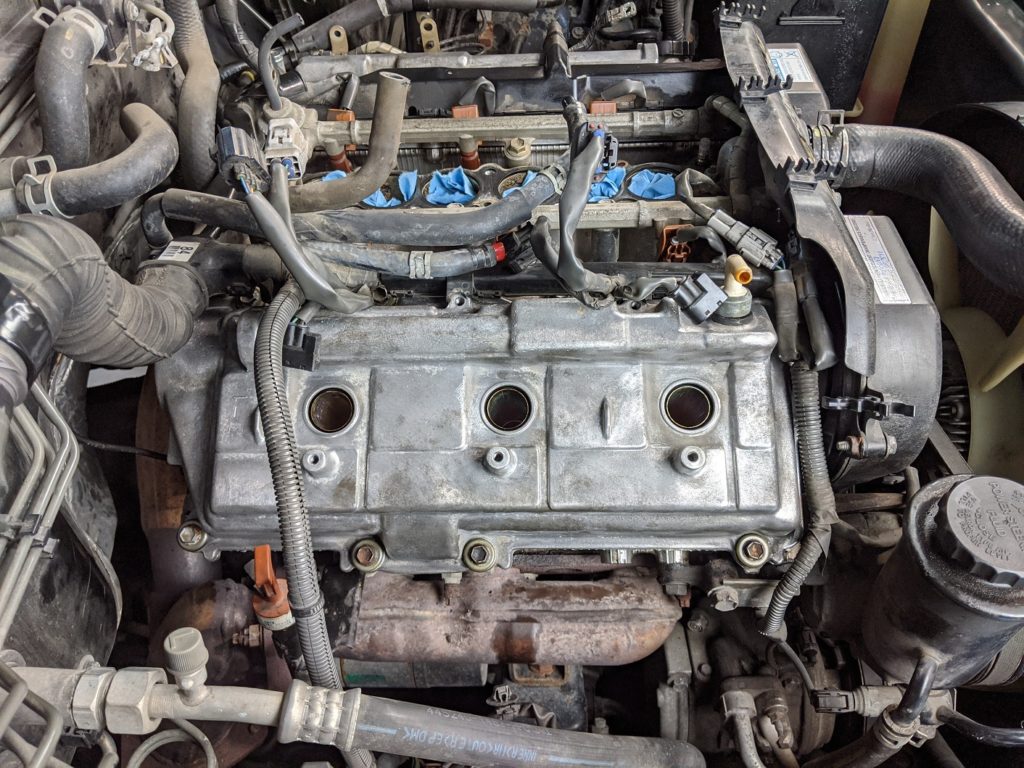
The reason valve adjustments on the 5VZ-FE are difficult is it utilizes a shim-over-bucket valvetrain design. This design is more efficient and quieter than a rocker arm system found in many other engines, but it comes at the consequence of requiring you to replace shims when the valve clearance goes out of specification. Add on top of that the difficulty of replacing the shims, and further still, the difficulty of accessing the valve covers, and you start to see why many owners turn this procedure a blind eye.
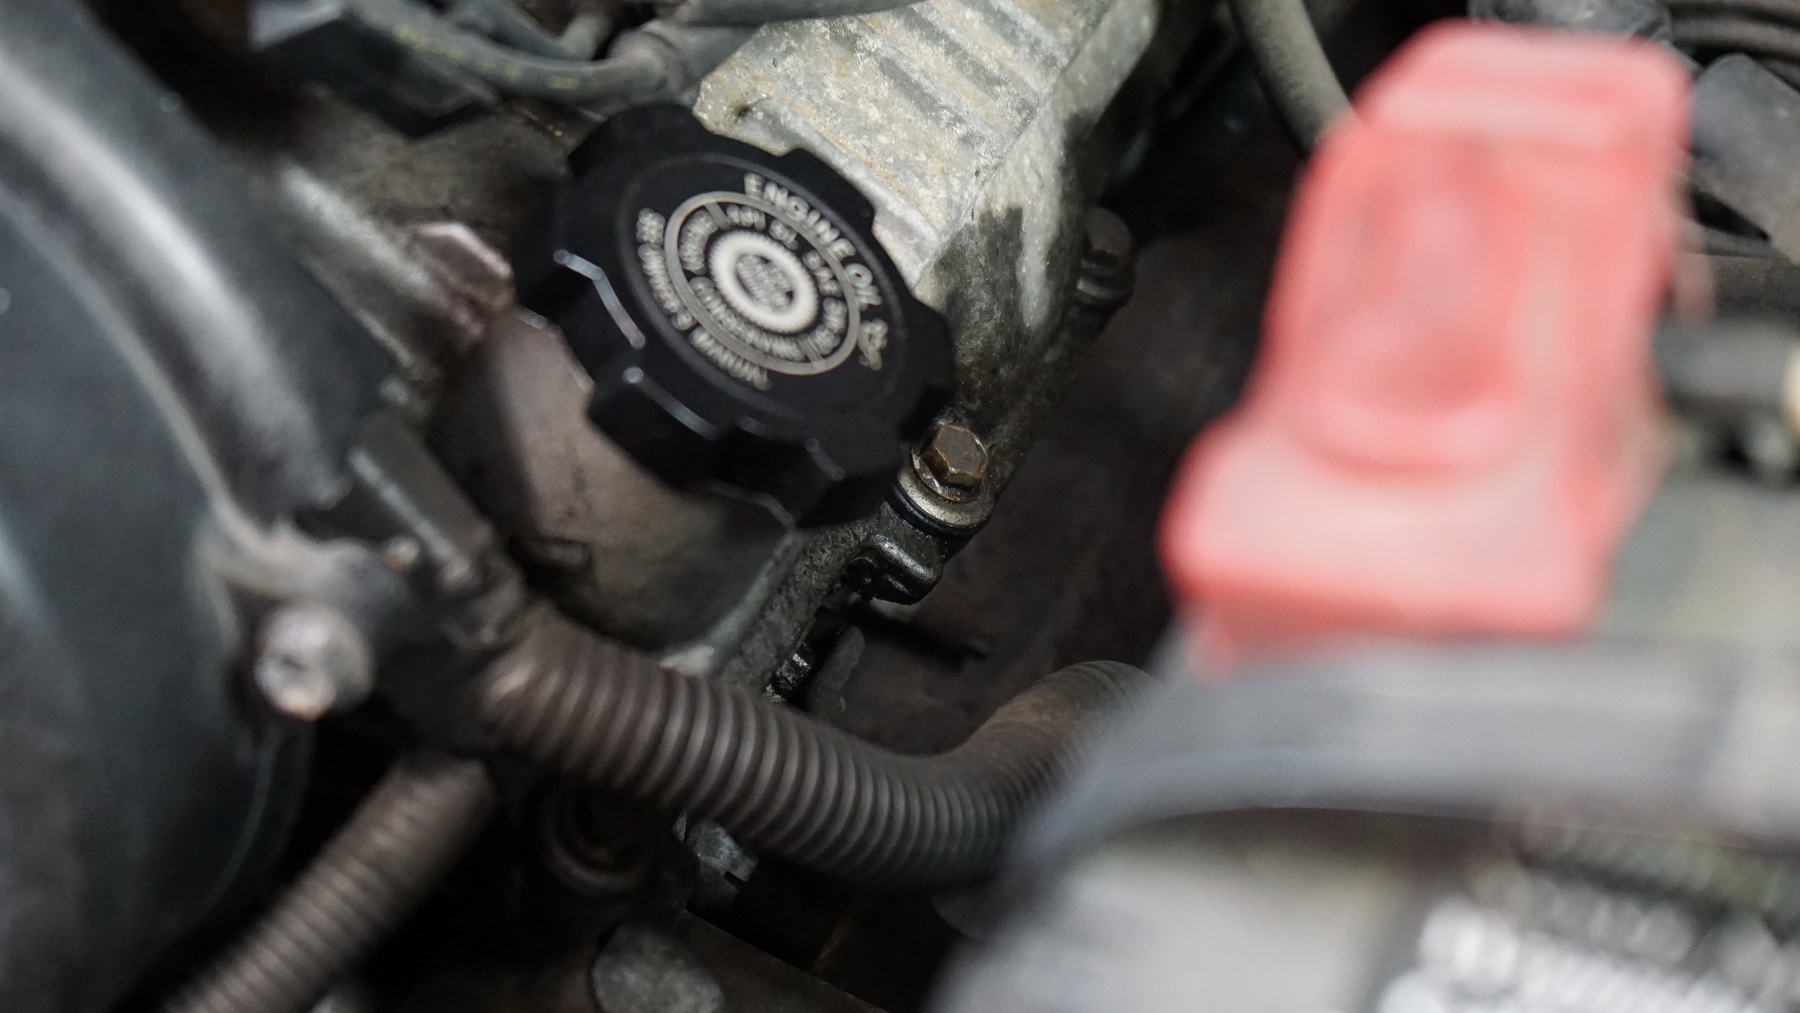
I’m not one to leave something like valve clearances up to chance, even if anecdotally, the engine should be fine if left alone. Also, the valve cover gaskets were leaking on my Tacoma, providing even more reason to give the engine’s valve lash a once-over.
Below is a gallery of the procedure from start to finish with some helpful information sprinkled throughout. At the very end are some relevant factory service manual files that can guide you through the procedure (quite literally by the book!). Also be sure to check out the video I made of the procedure here: https://youtu.be/08ia1PIgFz8
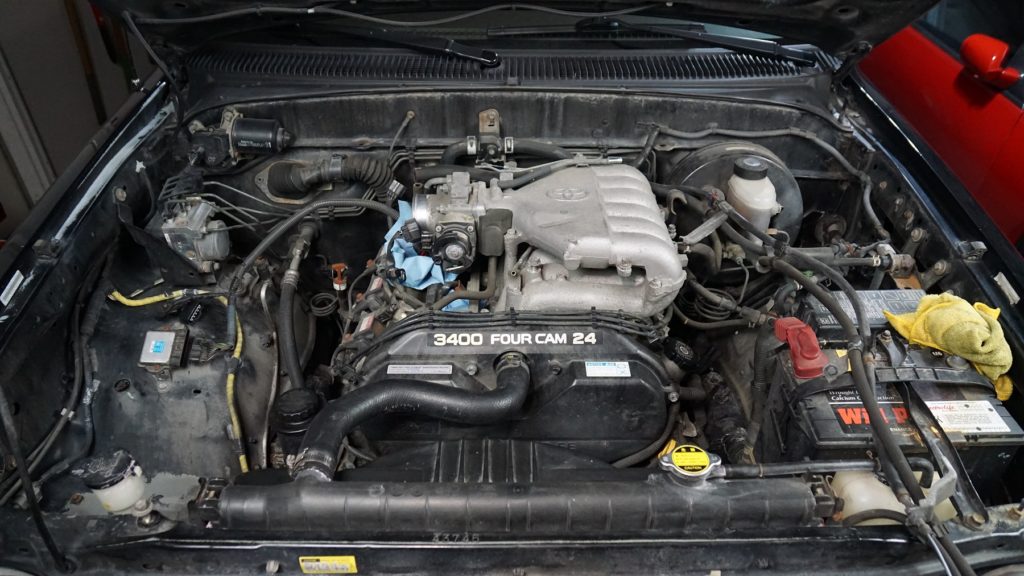
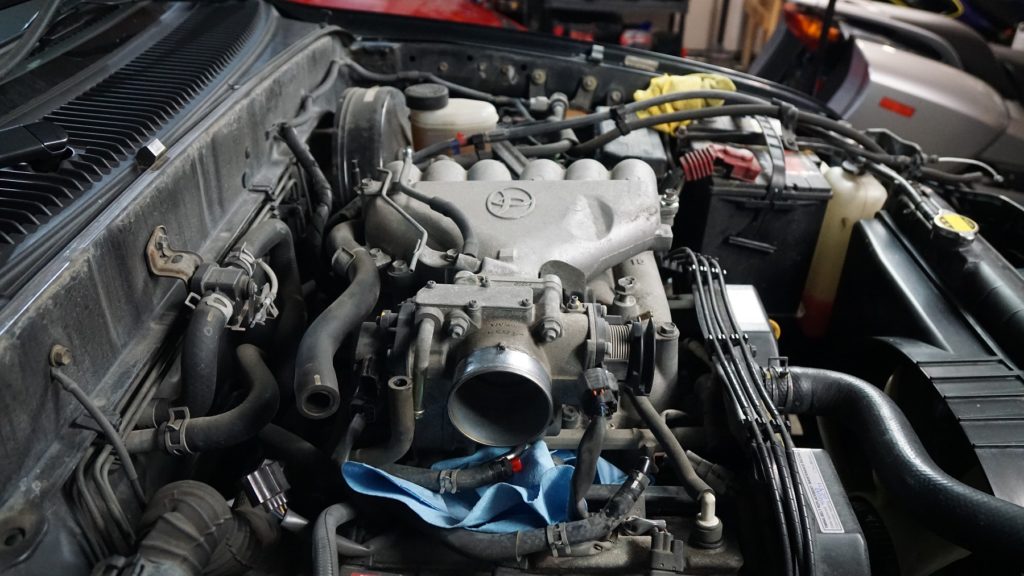
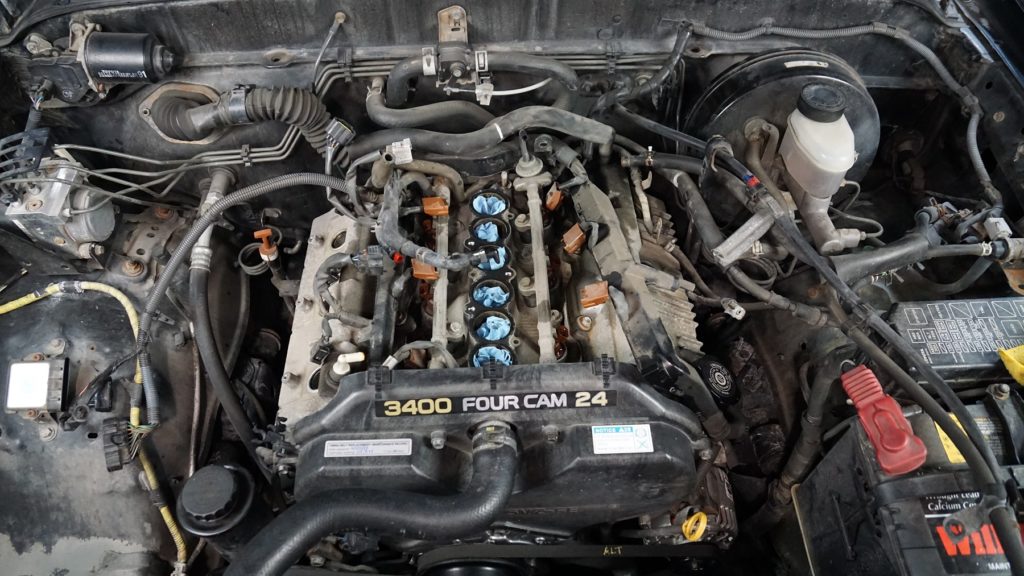
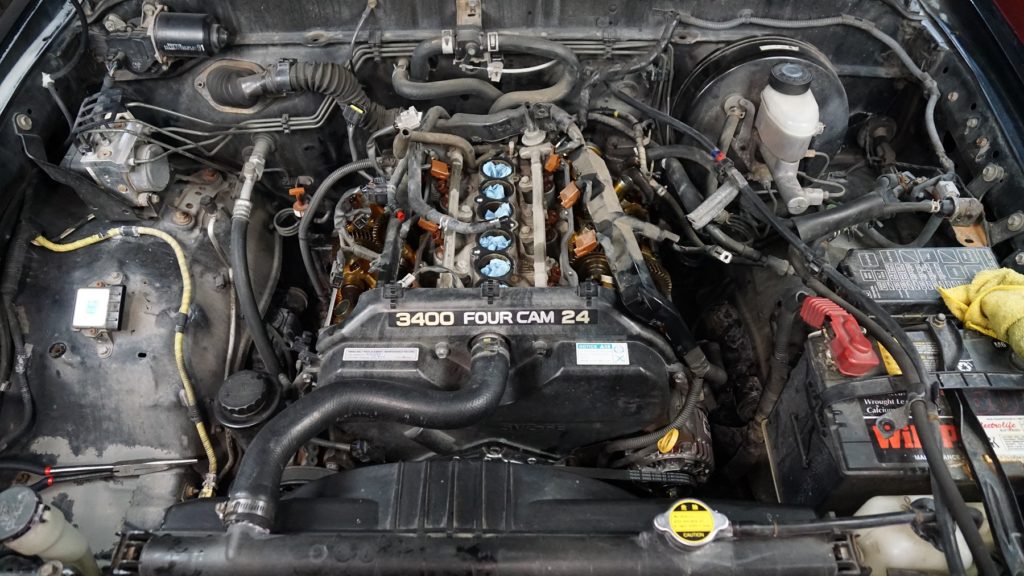
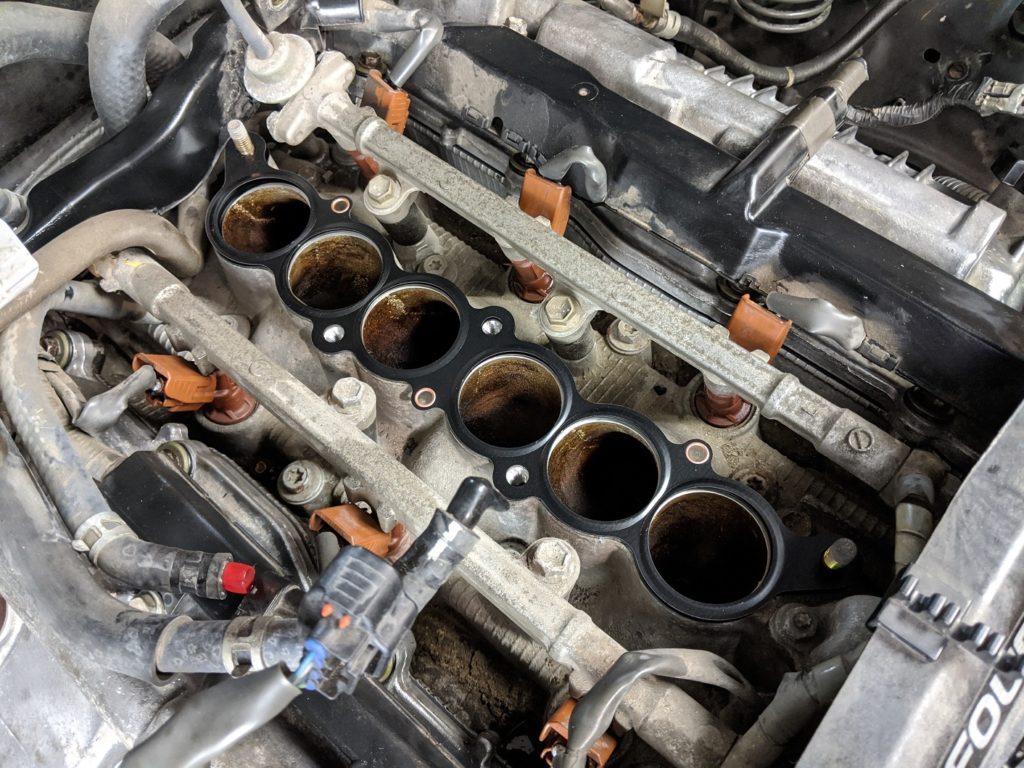
The Tear Down
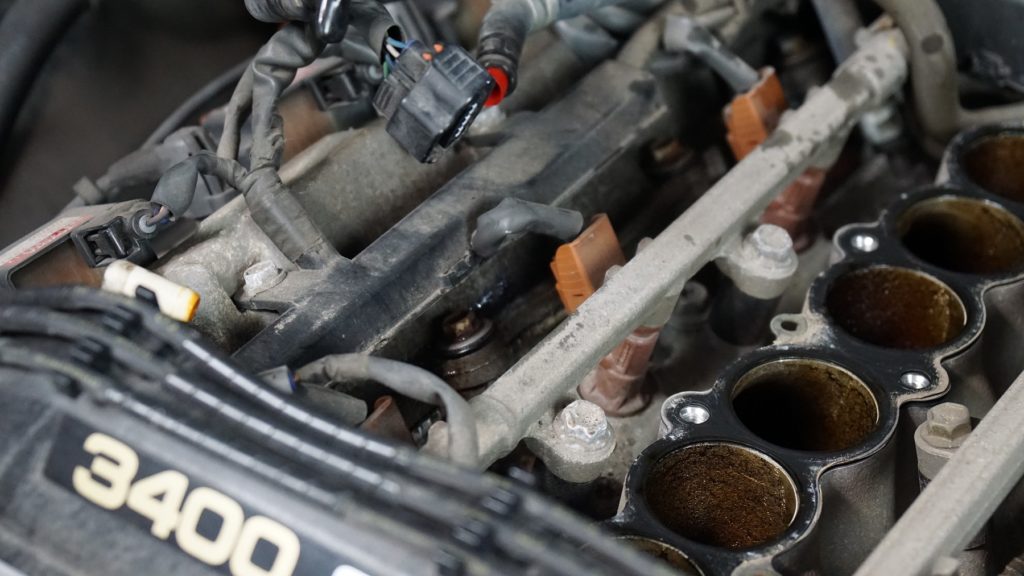
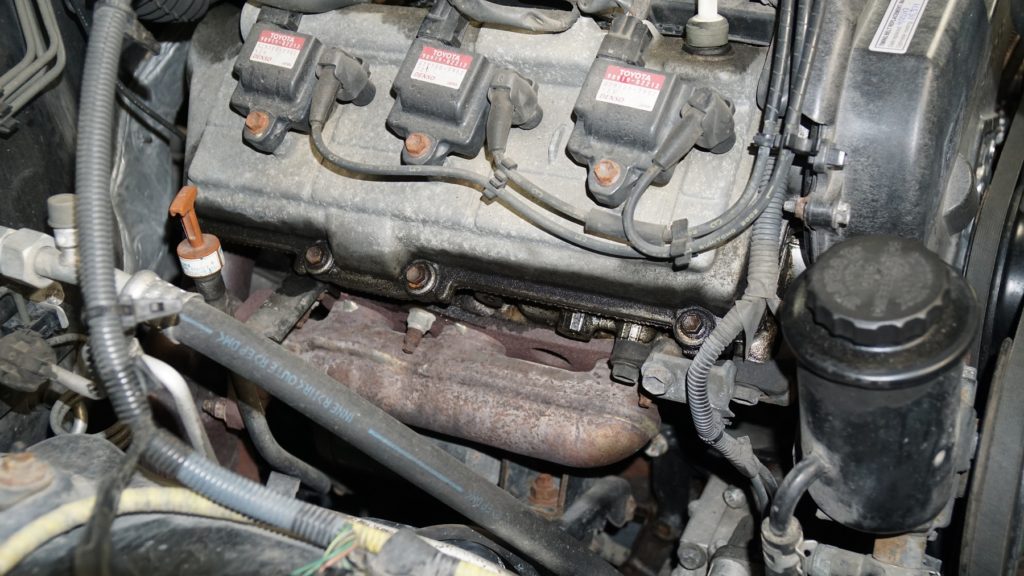
Adjusting the Valves
Before adjusting valves, you must first take the clearance measurements. Refer to the service manual file at the bottom of this post for that procedure. If you find valves needing re-shimmed, then you will have to get the following tool: Schley Products 88250. This “tool” consists of a pair of eccentric pliers and a spacer wedge.
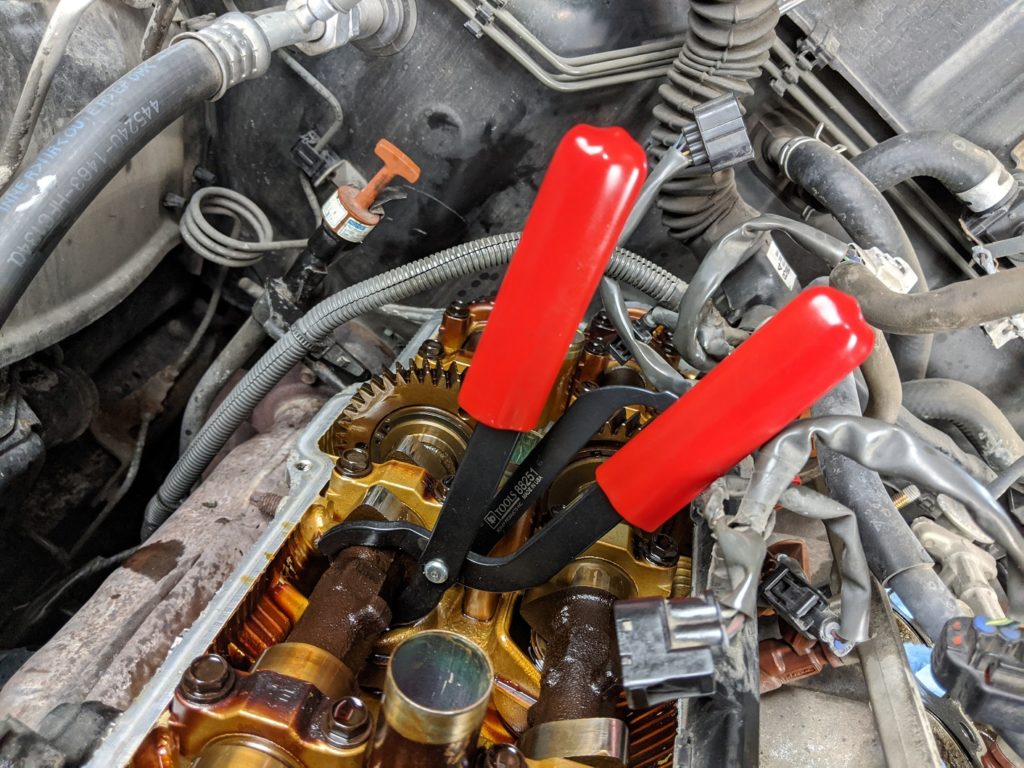
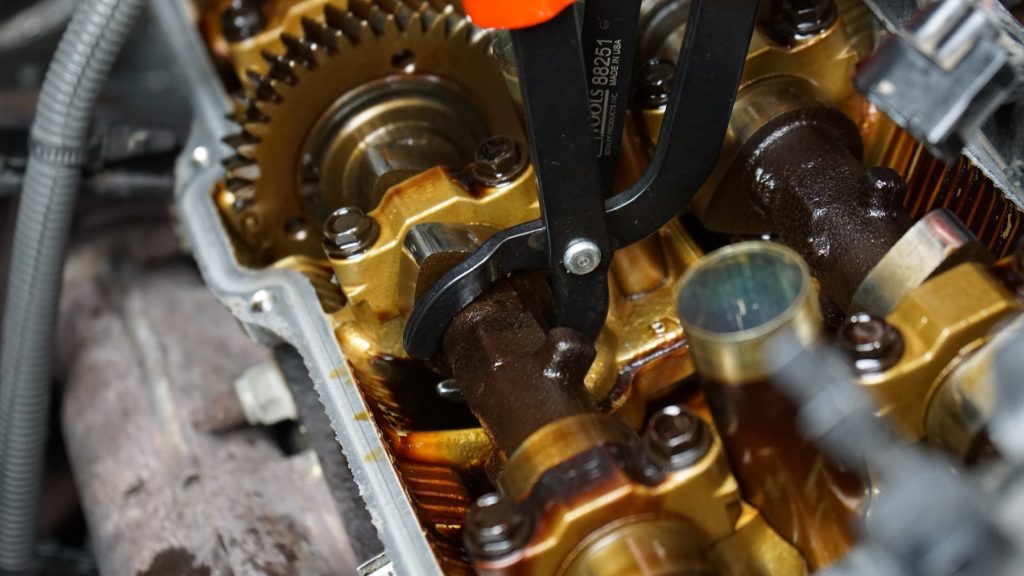
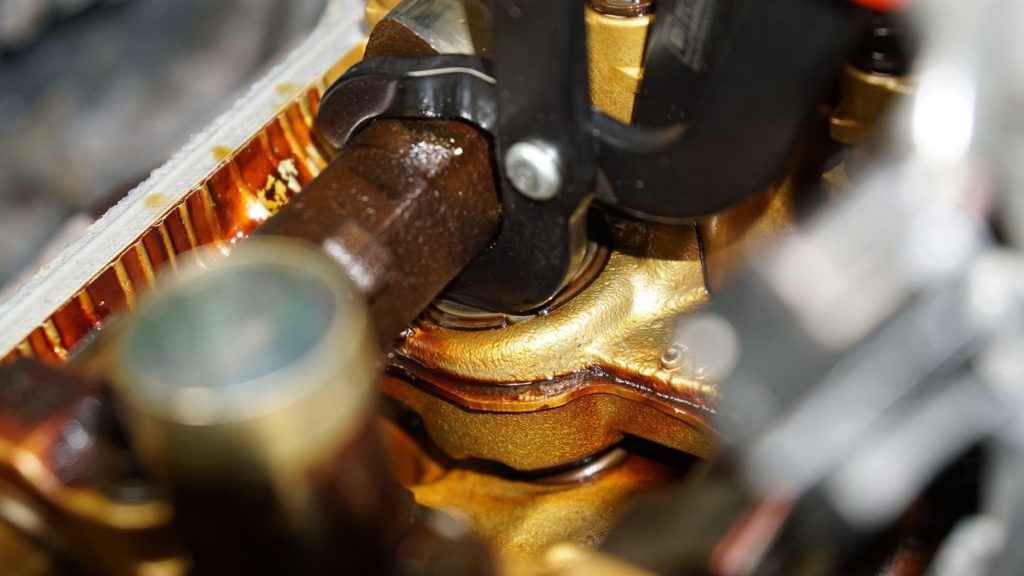

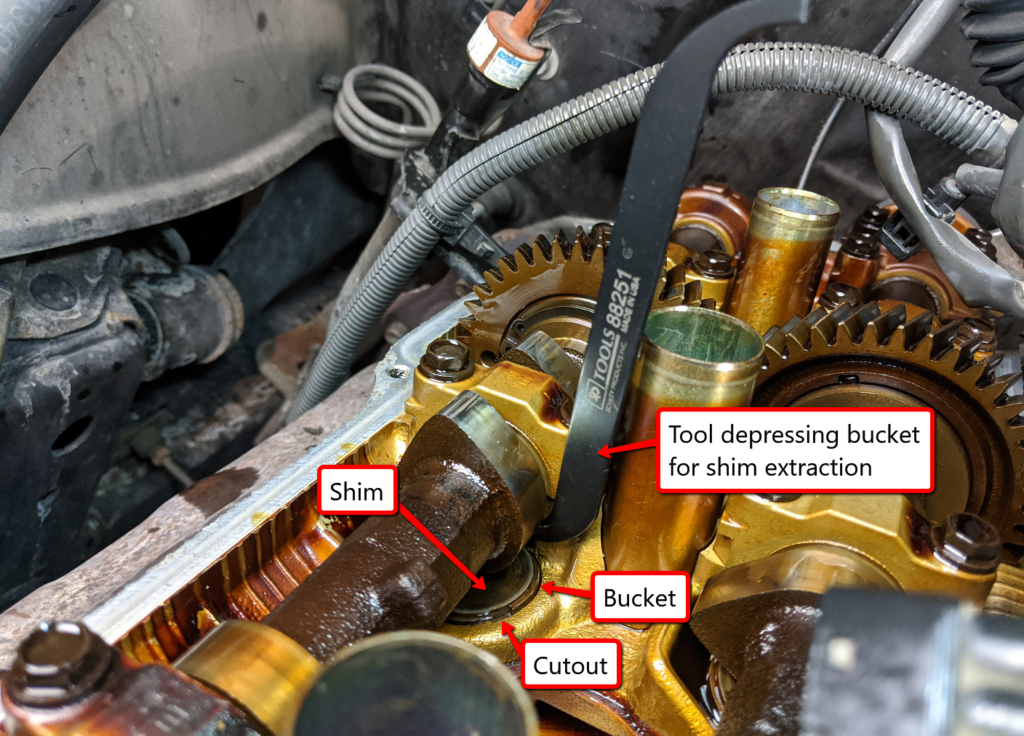

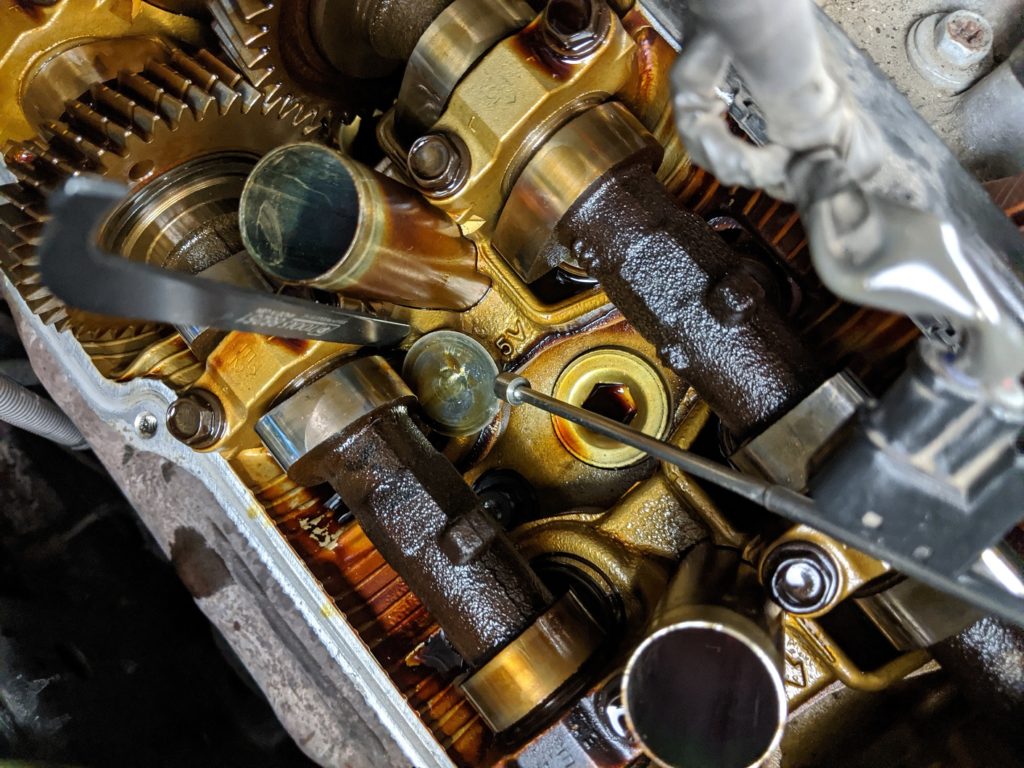
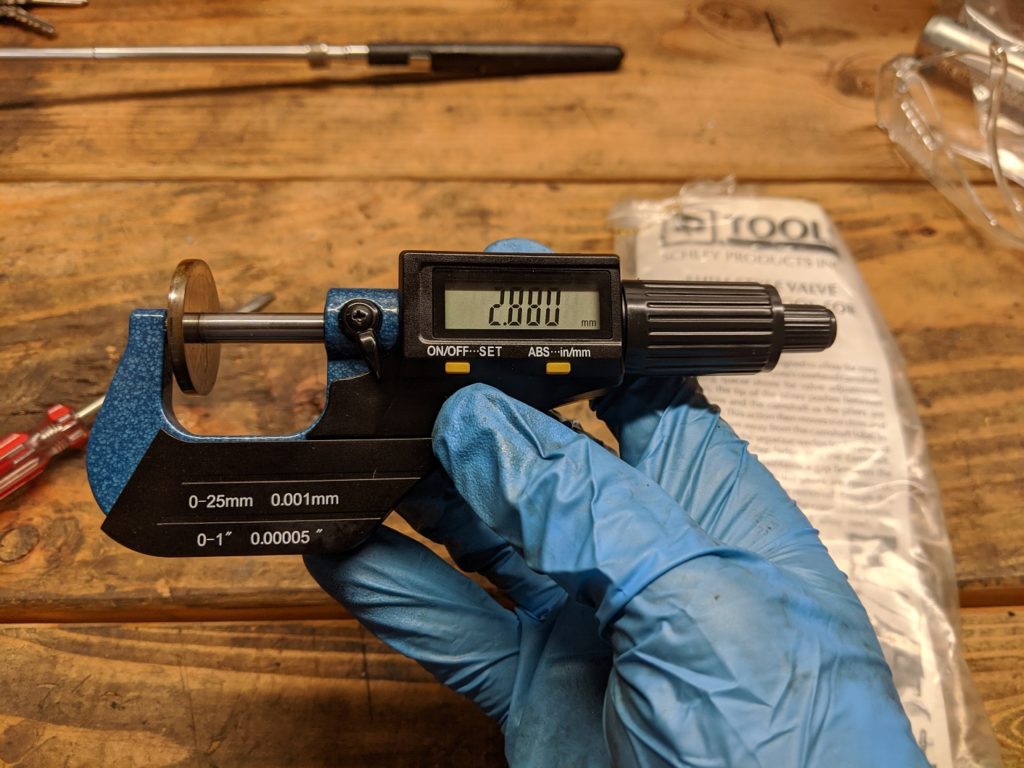
Refer to the valve adjustment service manual file below to determine the correct replacement shim size. Your local Toyota dealer will more than likely have to order the shim in, meaning you’ll be down for a few days until it arrives. Repeat this procedure for all valves where the lash clearance is out of spec. Remember! Reinstall any shim you remove before pulling out the wedge tool that depresses the shim bucket. If you don’t, you may score the camshaft and be unable to re-insert the shim.
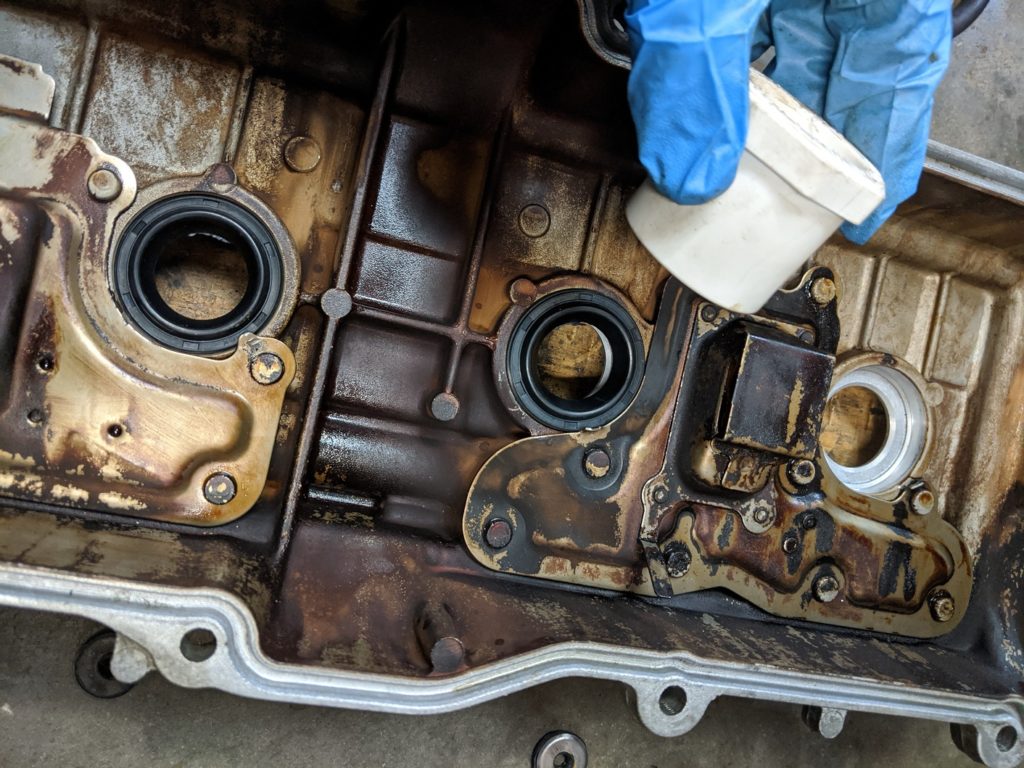
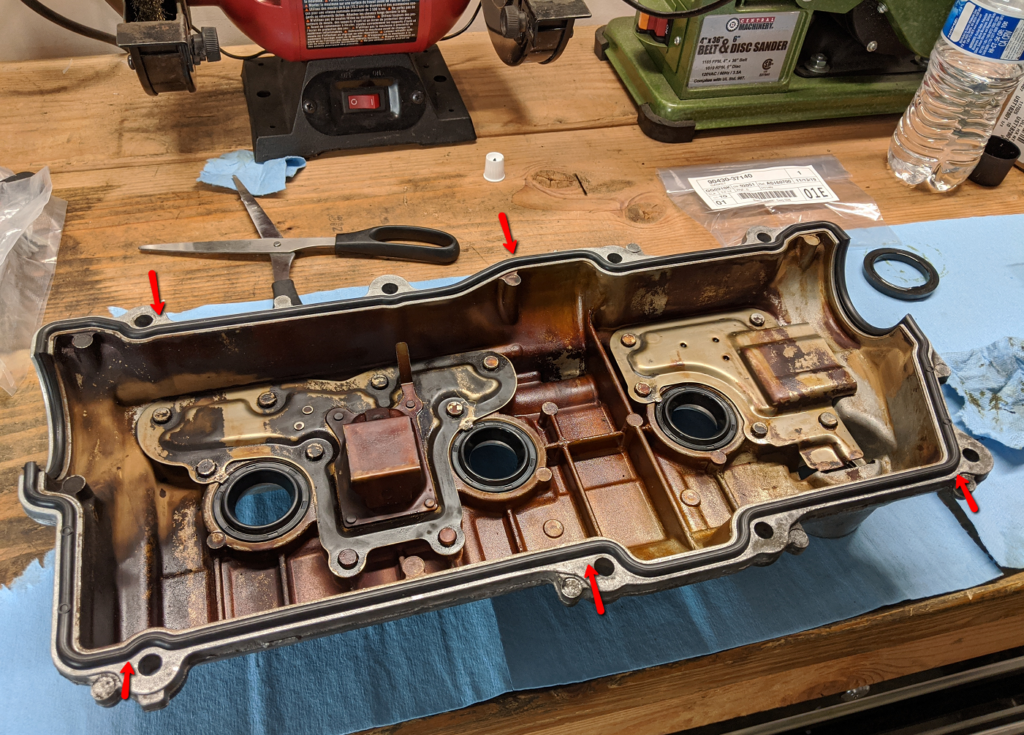
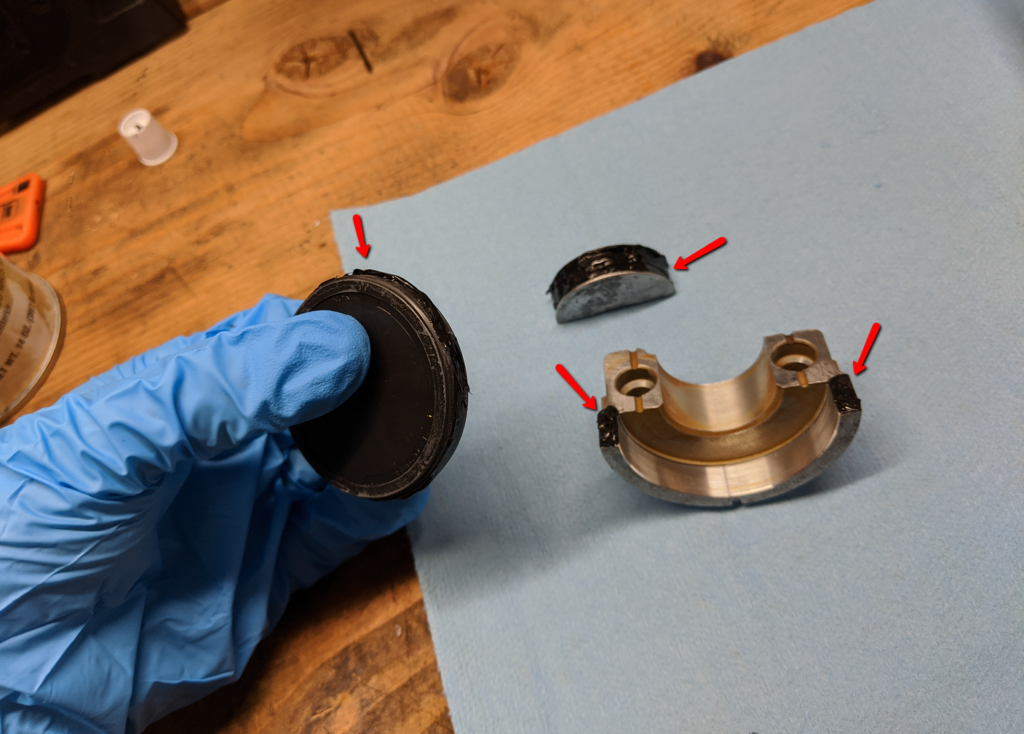
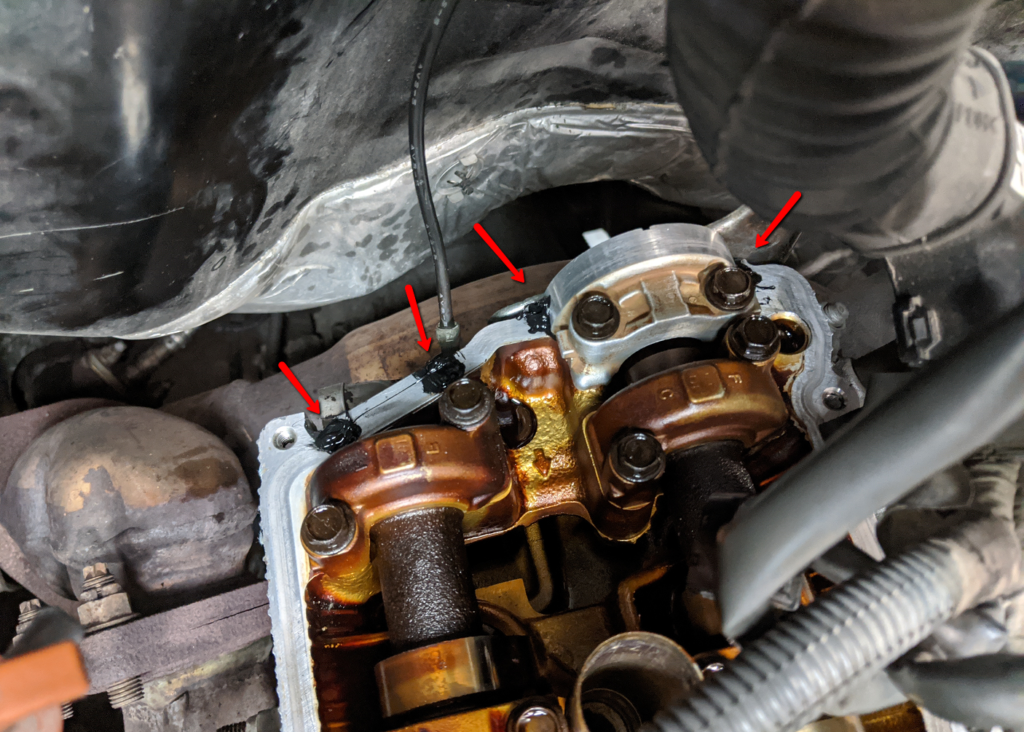
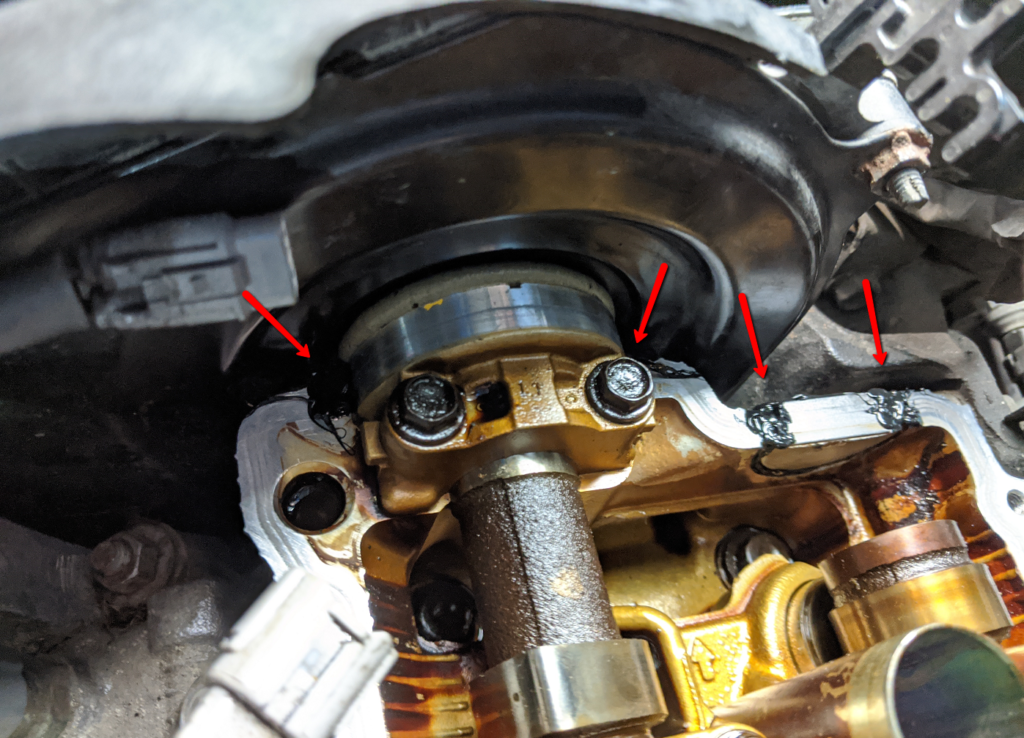
Valve Cover Gasket Replacement
To do a thorough job of replacing the valve cover gaskets, there are a number of parts you will need to buy. Below I’ve listed all requisite parts and the OEM Toyota part numbers for each. I recommend buying only OEM Toyota parts for this job:
- Valve Cover Gaskets (Qty: 2): 11213-62020
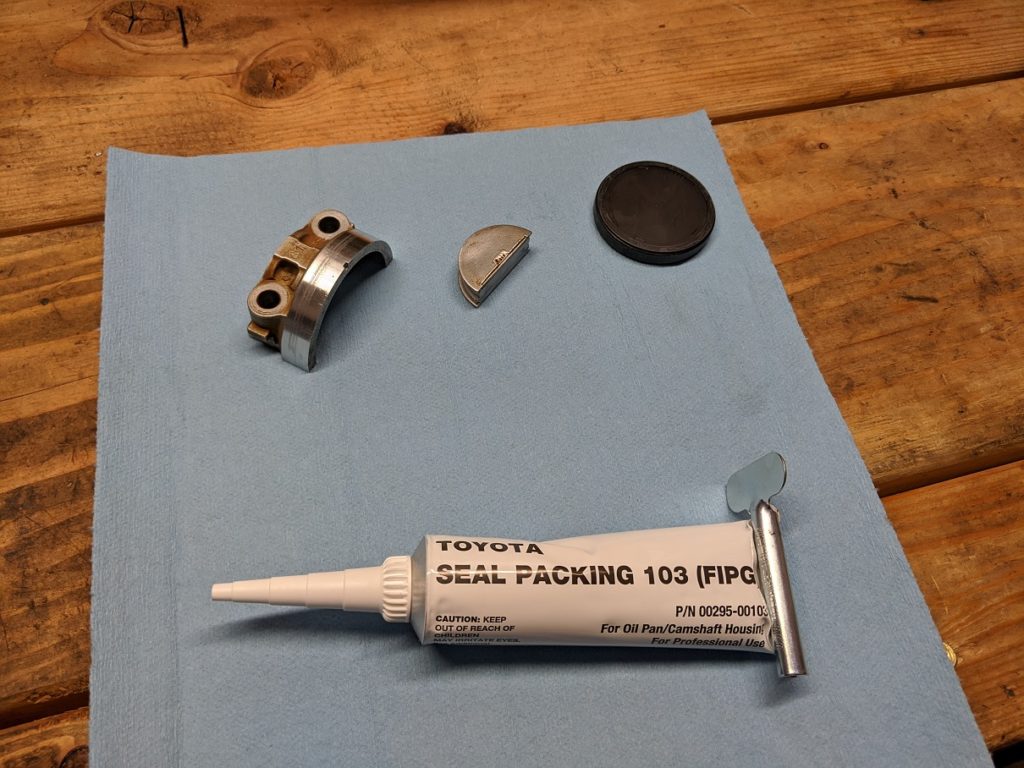
- Form In Place Gasket Sealant (FIPG, Qty: 1): 00295-00103
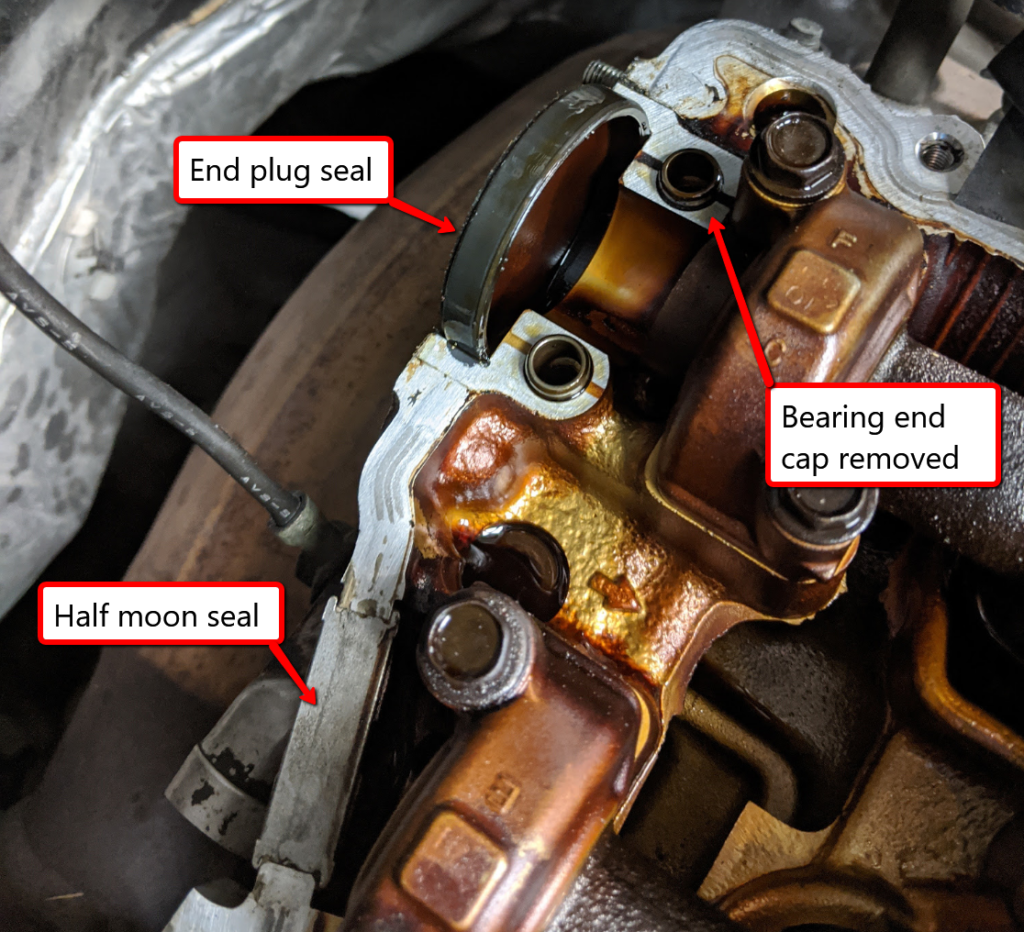
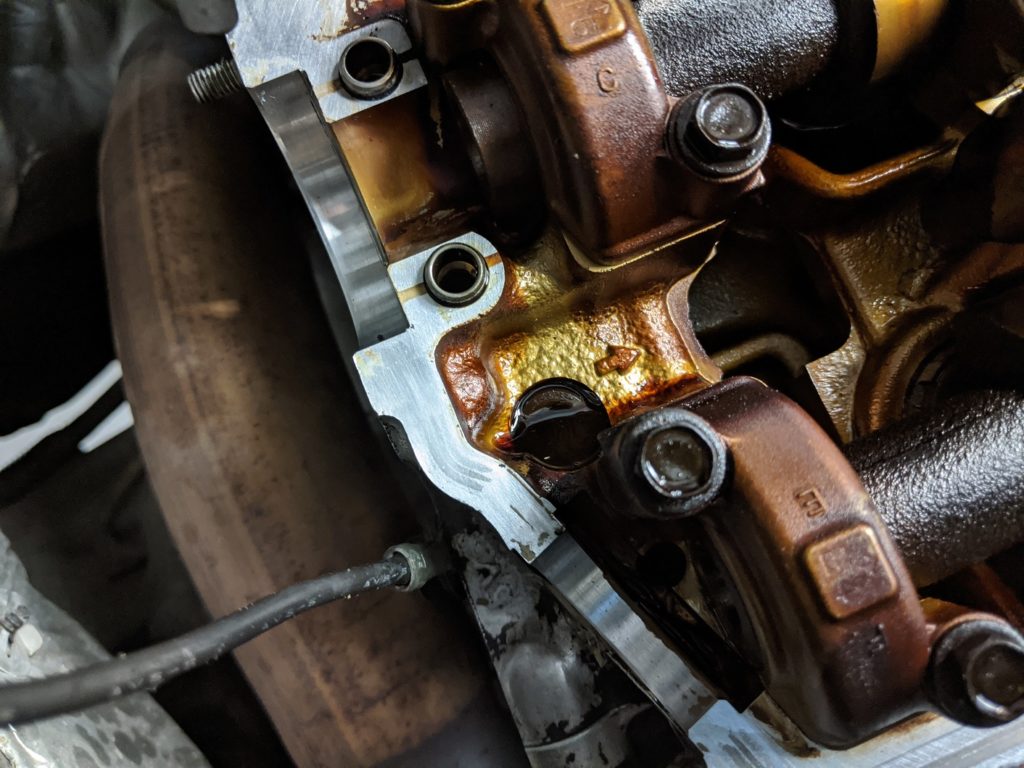
- Cam End Plug Seals (Qty: 2): 11188-62010
- Valve Cover bolt washers (Qty: 16): 90210-05007
- Spark Plug Tube seals (Qty: 6): 11193-70010
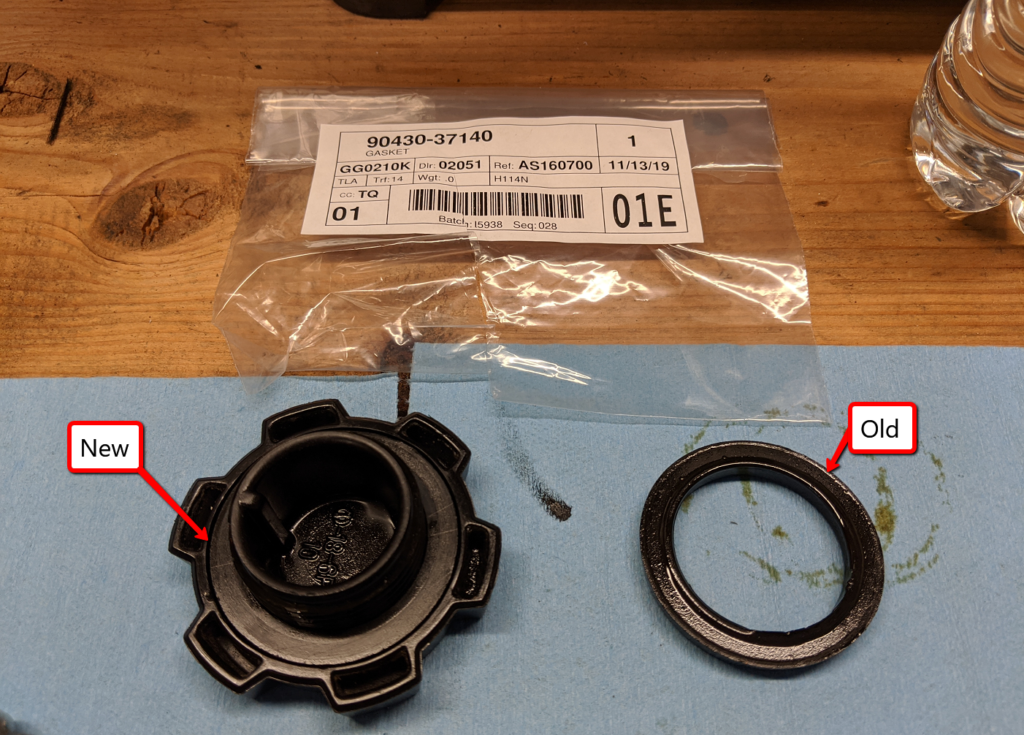
- Oil Filler Cap seal (Qty: 1): 90430-37140
- Intake Plenum Gaskets (Qty: 2): 17176-62040
Note: Be sure to check places like eBay, as sometimes you can find these items sold in a kit offered at a significant discount.


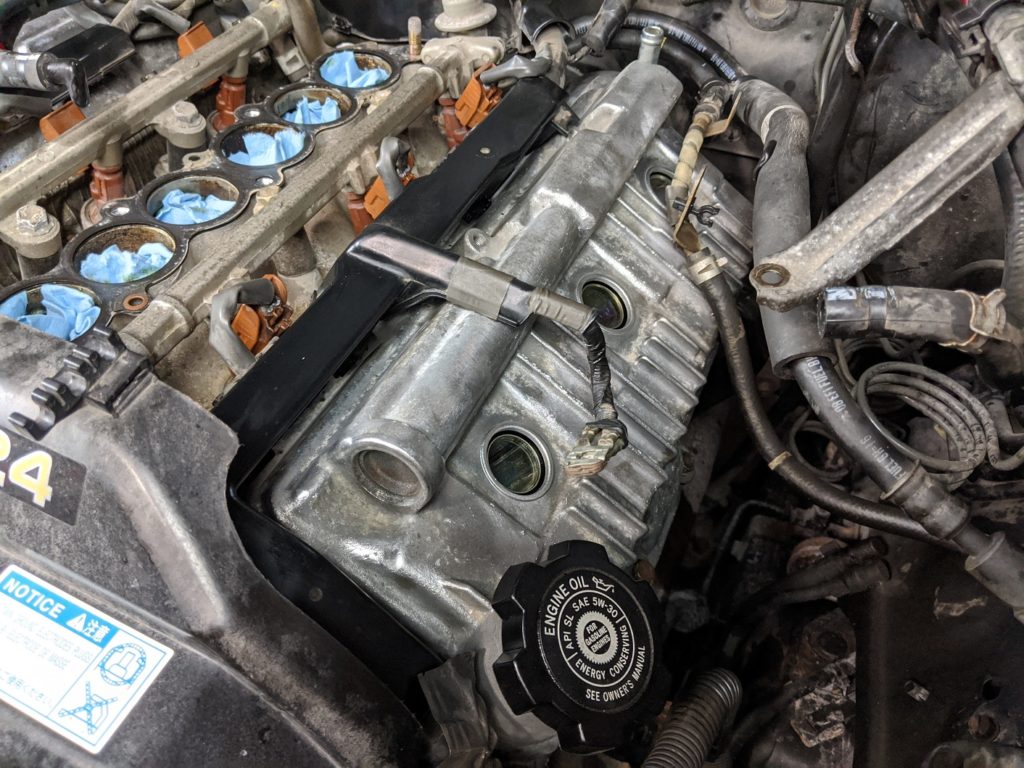
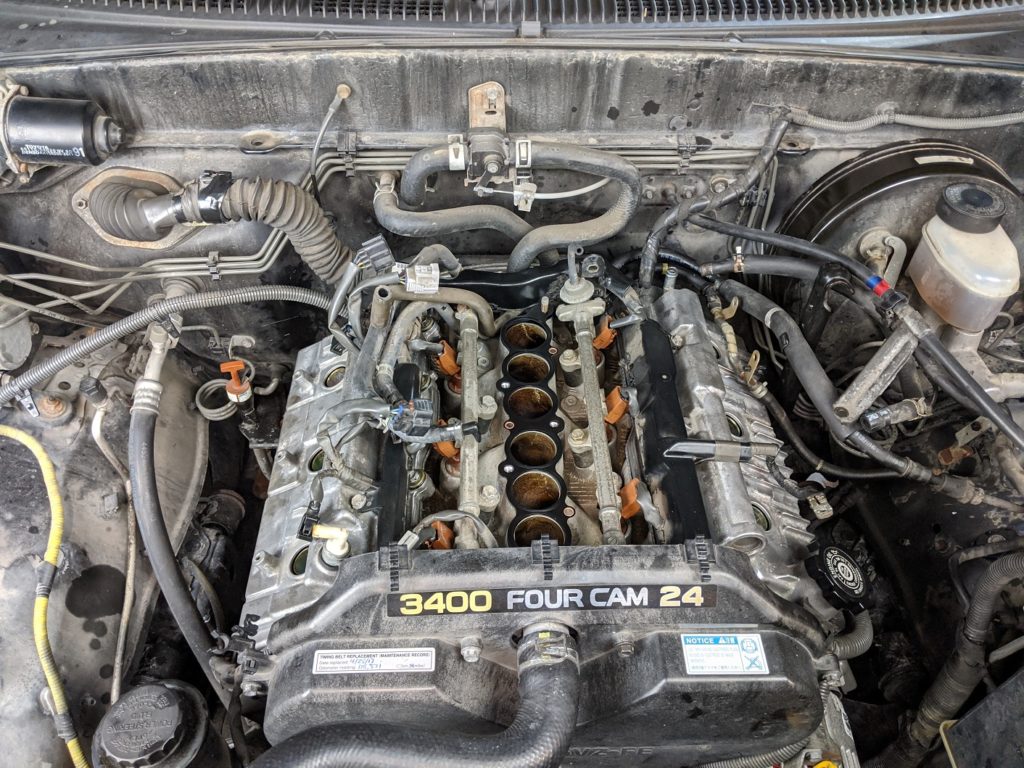
Putting it Together

Service Manual Files
 Loading…
Loading…
Loading…
Loading…
Loading…
Loading…
Loading…
Loading…
Loading…
Loading…
Loading…
Mike
Fantastic write up! Thank you for taking the time to make this tutorial and video! Btw, do you know if the 2WD & 4WD models, both take the same type spark plugs/wires?
Peter Monshizadeh
The wires should be the same so long as they are both V6 engines (5vz-fe).
J
Where Can I buy a eService Manual for my 04′ Tundra ?
Steve
Hi,
Is there a part # for those half moon gaskets ?
Thank you
Bill Kipling
Wow! What a great job at explaining everything. I have a 1999 Prerunner with 280,000. It have a noticeable knock. I don’t have the time, know-how, or tools to tackle this job. I was wondering if I should live with this knock or pay someone to do it. Also, what do you think a fair price would be to pay a shop parts/labor?
Thanks