Waiting for parts to arrive sucks.
What do you do with yourself when you just blew more than one thousand smackers on something you can’t yet hold in your hands? Well, if you’re lucky like me, you have a completely disassembled motorcycle to keep you busy! If you’re wondering how I ended up in this mess, check out the previous installments of this saga here: Part 1 and Part 2
Accounting for all Units
Boxes upon boxes of parts, bolts, wiring harnesses, and body work. This sight is not nearly as daunting if everything is properly labeled and organized. Unfortunately, the previous owner did not provide much help in this regard. It was up to me to figure out what all was there and what was missing.
After a countless number of hours dividing and grouping all related pieces, I had established some order. I then spent hours matching these parts up with pictures that I could find on the internet and in the Yamaha factory service manual. I have to give the previous owner credit here as there wasn’t much lost over all of these years. To be exact, I needed to source four parts:
1. Throttle cable housing
2. Rear sprocket cush drives
3. Front sprocket cover
4. Kill switch
Ebay is your best friend when locating miscellaneous parts such as these. I was able to get them relatively cheaply, albeit used.
Random parts cost: $47.00
Reinstating the Go Governors
When Yamaha introduced the first-generation YZF-R1 in 1998, they blew the technological benchmark for sport bikes right out of the water. Here was a bike that produced a real 150 horsepower, weighed well under 400 pounds dry, and had the sharp styling to match its performance.
And it had carburetors. Four of them.
Many people can’t believe that such a modern looking bike doesn’t use a fuel injection system to get the gas going. But, as many a motorcycle journalist has reported, you couldn’t ask for a better set up.
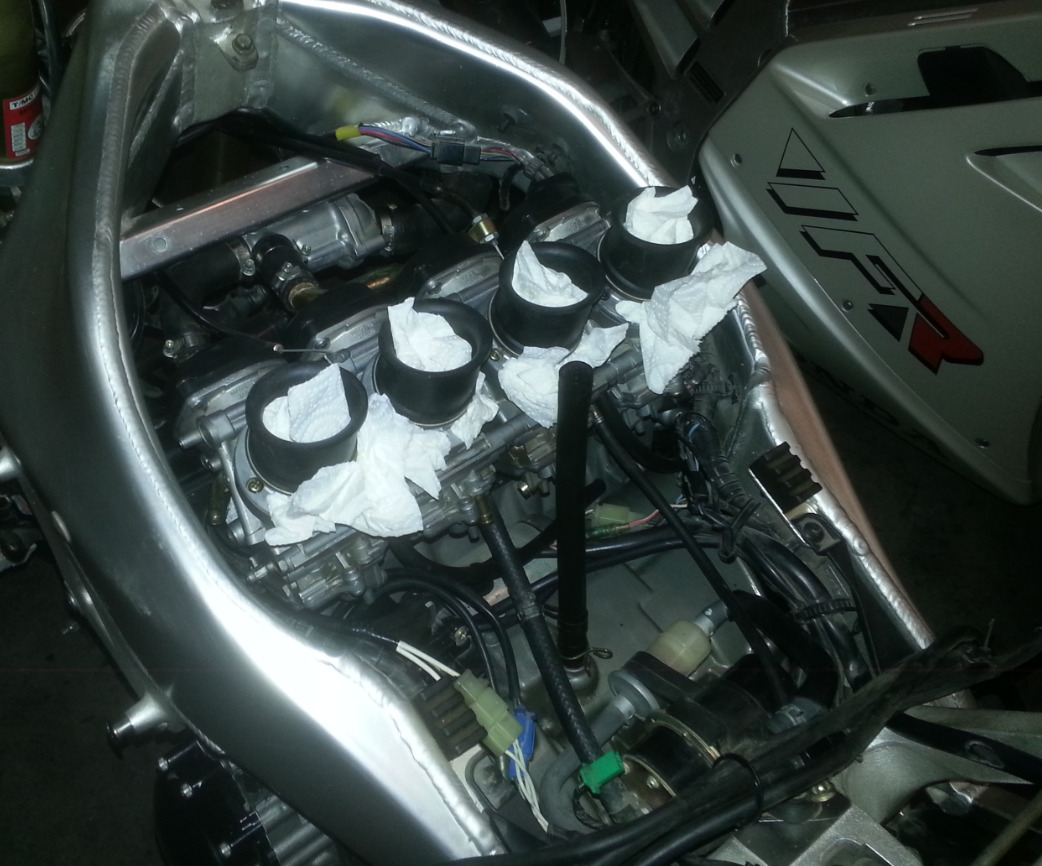
So, what happens to four high-performance Mikuni carbs when sitting dormant for 8 years? I didn’t know the answer but I assumed they would have gone to crap. It was time to strip them down and lose little pieces in the carpet!
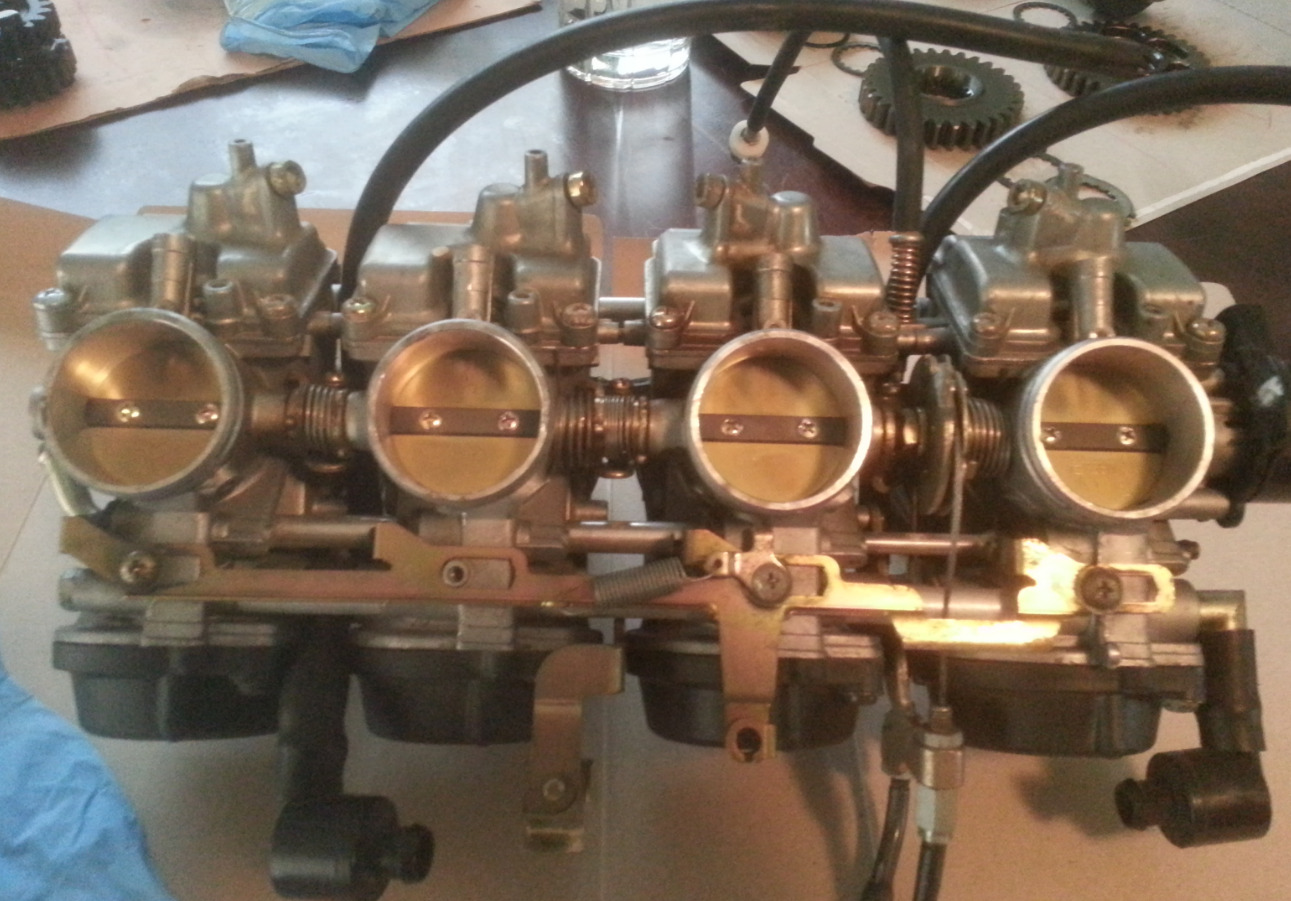
Having never worked on a “rack” of carburetors before, I presumed that the most logical step to cleaning each carb was to disassemble the rack so that each one could be inspected individually. As it turns out, this is a Bad Idea.
You see, the rack configuration is much more complex that can be imagined when first looking at it as a whole. Each carburetor in the rack fits to together in exactly the right way so that no air leaks are present between them. There are hard fuel “tubes” that bridge between each one. There are springs and adjustment set screws that must be aligned just so.
Taking it apart is a breeze.
Finding all the crap the just made a break for it to mingle with long-lost Lego pieces in the carpet? That part kind of blows.
Many, many word-filled hours later I had the rack back together with a blood pact to never do such a dumb thing again.
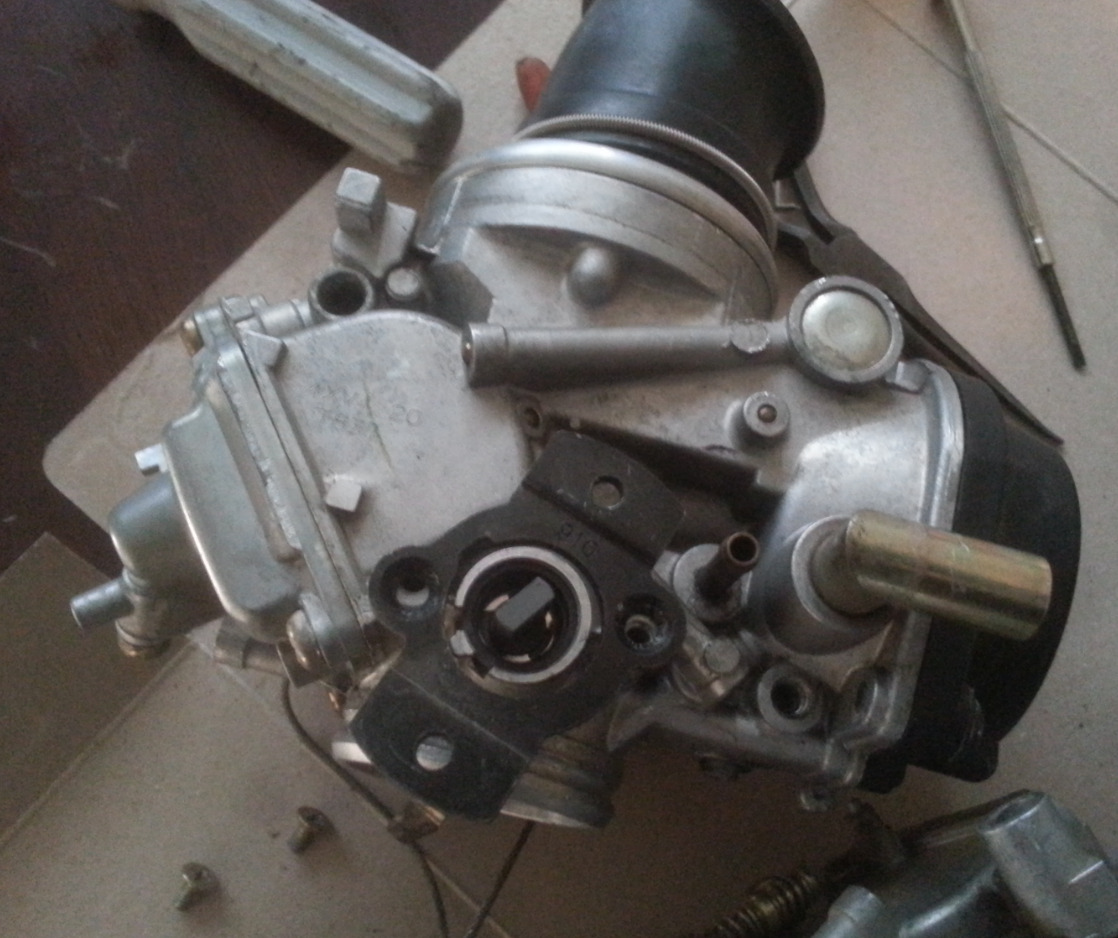
All you actually need to do when inspecting old carburetors is to remove the float bowl chambers at the bottom of each carburetor. This is a simple 20 minute task. If you find any gunked-up gasoline residue in there, just shoot some carburetor cleaner at it as needed. These particular carbs actually looked to be in great useable condition – lucky for me, the previous owner drained the fuel out before the long slumber.
The Mechanical Chiropractor
Like I mentioned previously, the R1 was a technological marvel in its day. Its utilization of aluminum everywhere meant that it was the lightest literbike on sale. However, some of the methods Yamaha used to achieve this unmatched lack of weight turned out to be less than ideal.
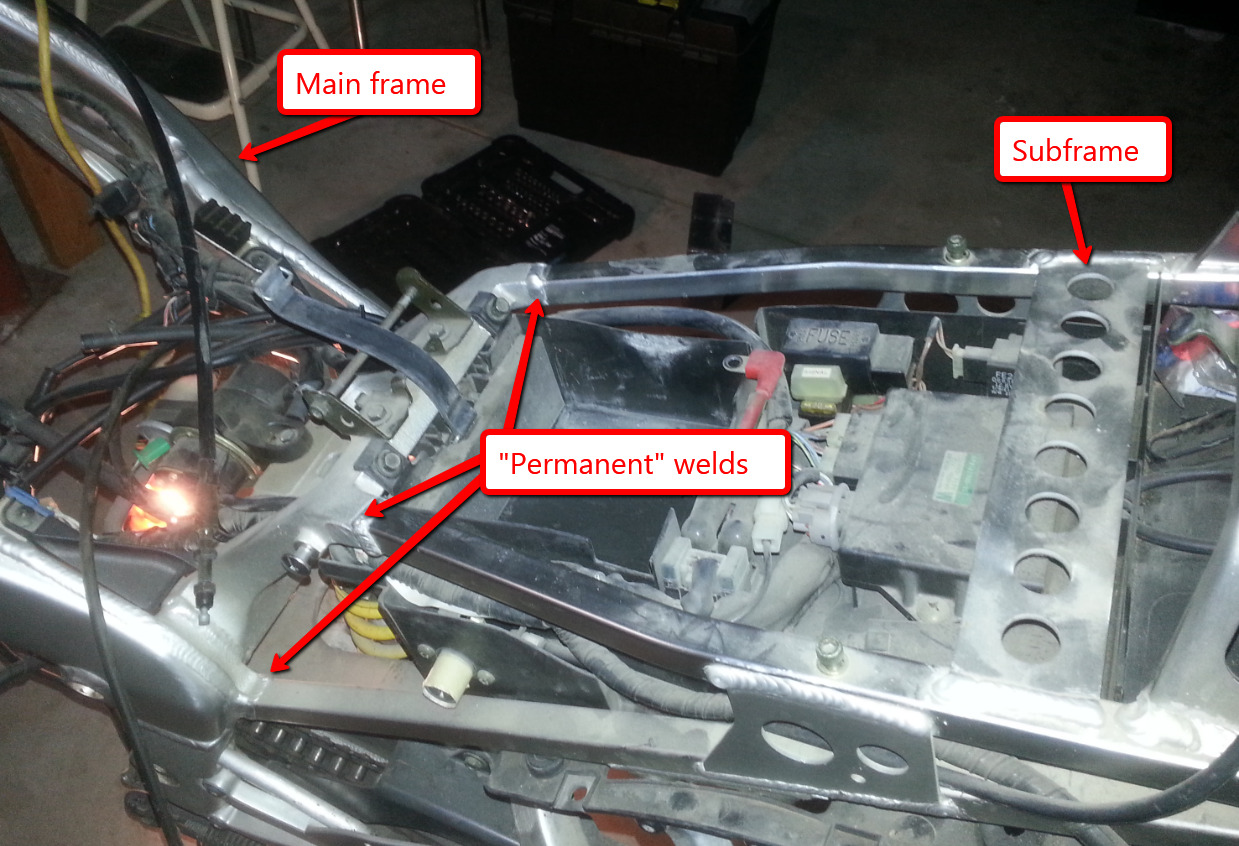
Case in point: The rear sub frame.
Many bikes have a rear sub frame – all sport bikes that I know of do. They bolt onto the main part of the frame to establish the rear structure of the bike. Everything from the passenger seat to the battery is usually relying on this piece of structural metal. Yamaha wanted nothing to do with a bolted-on sub frame. Adding the pound and a half to mechanically attach the sub frame to the main frame would be against their minimal-weight objective.
So they welded it permanently in place.
What this means is if that sub frame was to ever get bent, or even slightly out of alignment, serious straightening action would have to be performed. Let me give you a list of scenarios that could potentially bend a sub frame on a first-generation R1:
1. Staring at it.
2. Having a passenger.
3. Dropping the bike a complete standstill.
With this bike having lain down on the ground a few times in the past to catch a nap, I began to notice that the sub frame was tweaked ever-so-slightly to the left. It suddenly hit me that I may have done all of this rescue work in vain. I didn’t want a bike with a slightly bent frame. Queue the panic. I needed the guidance of my local bike mechanic.
“Shoot, that happens all of the time on those bikes. Sure, I can fix it.”
I can’t tell you how relieved I was to hear those words. As it turns out, the sub frame on these R1s is a much thinner gauge of aluminum than that of the main frame. In essence, this means it is the “give” point for all of the energy that results in a fall. The main frame is never actually affected.
I loaded the frame into the back of my 4Runner and dropped it off at the bike mechanic. A day later he had it finished. He was able straighten the tweaked sub frame to the exact millimeter that the Yamaha specifications call for. A true artisan he is.
Sub frame Straightening: $80.00
The Bath of the Decade
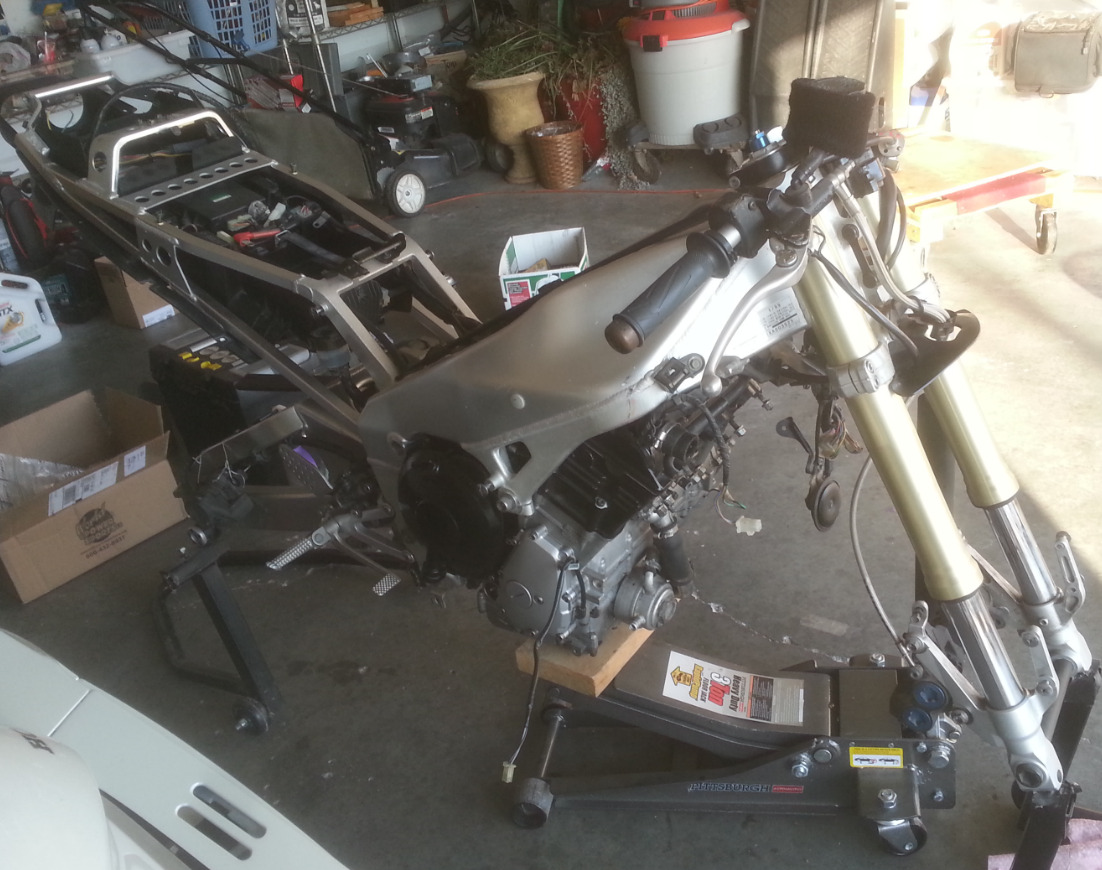
Since the parts still hadn’t arrived, this was a good time to clean things up. There was a quarter-inch thick layer of dust and dirt on just about everything. Take a look at the picture of the sub frame above to get an idea of what I was facing. I won’t bore you with the details, but here are a couple of examples of the many pieces that got the scrubbing treatment.
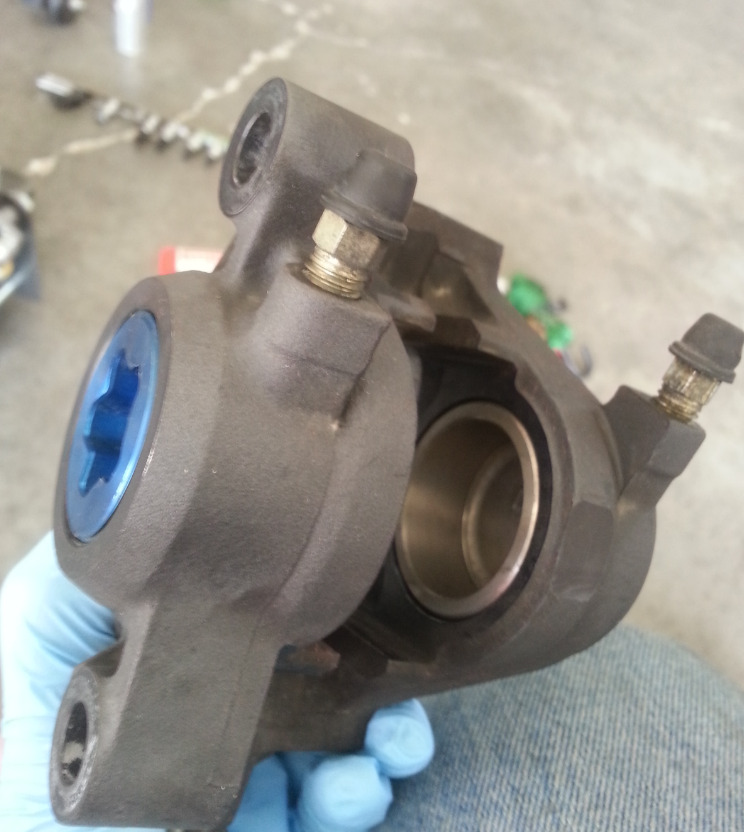
Rear brake caliper before:
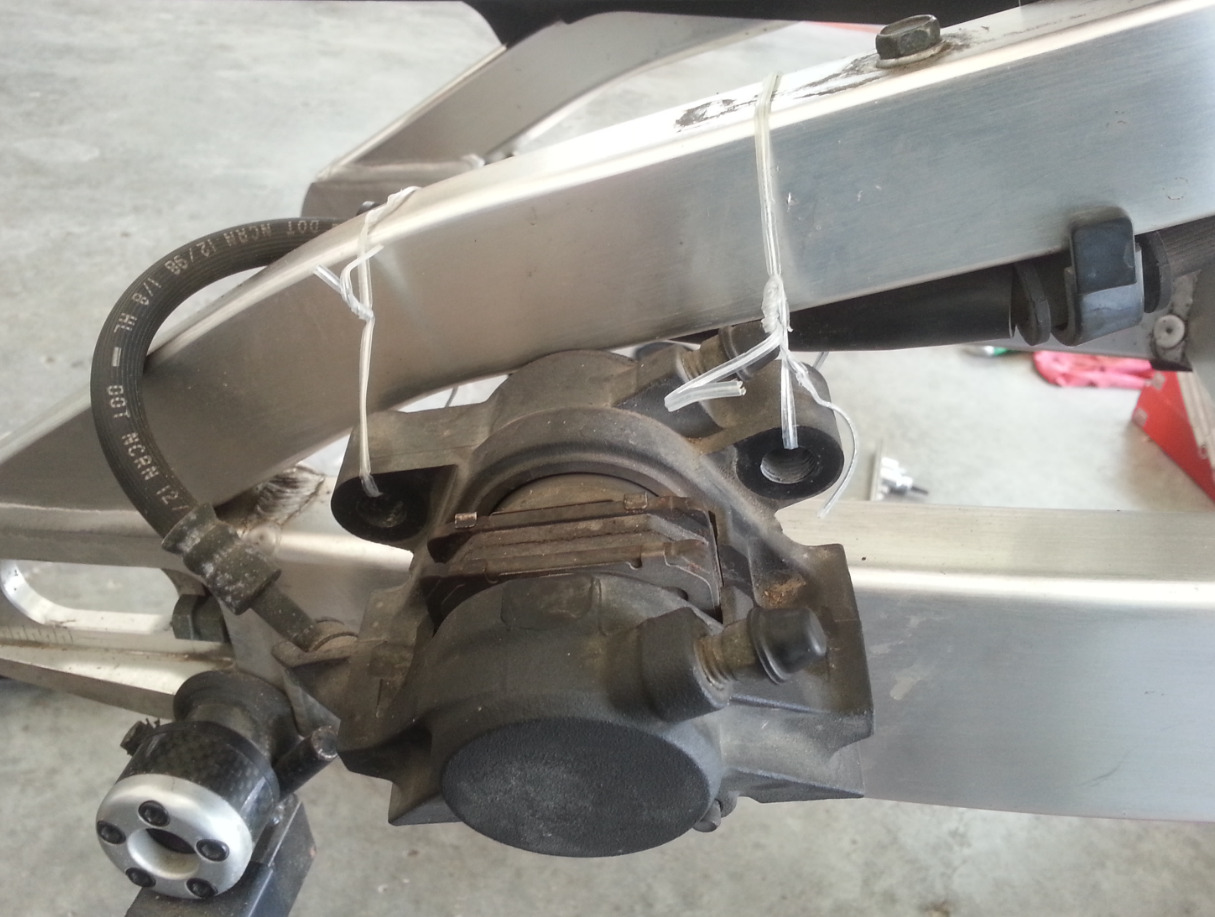
Rear brake caliper after:
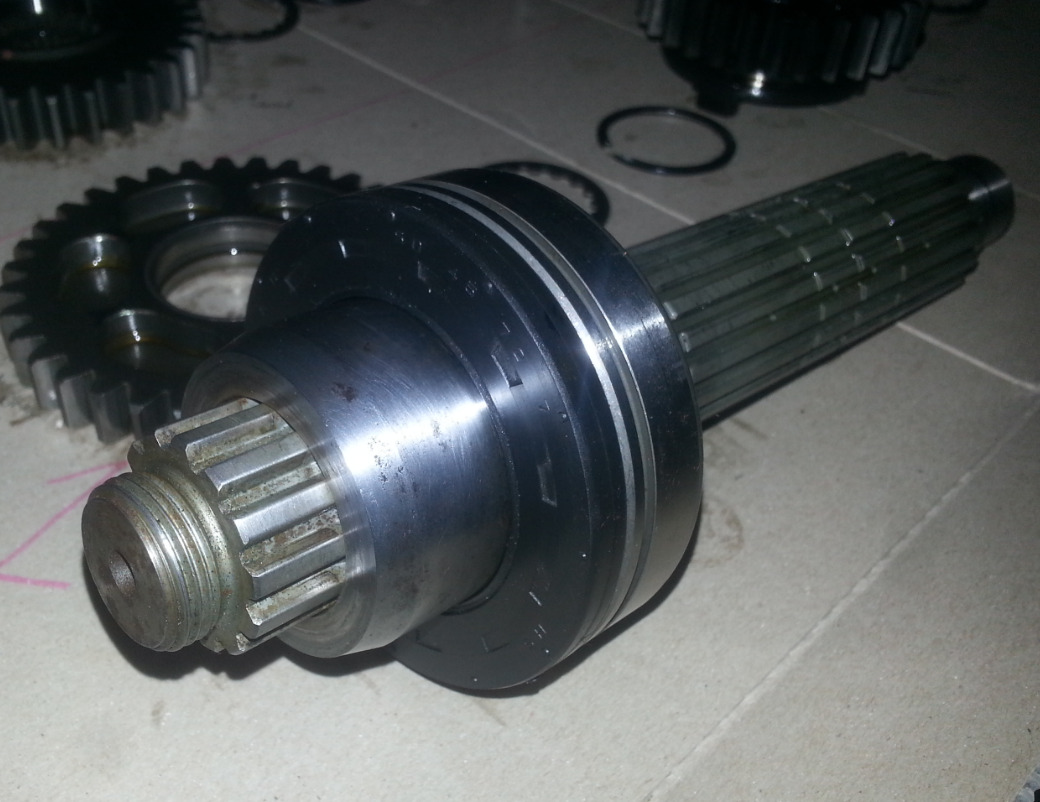
Output shaft before:
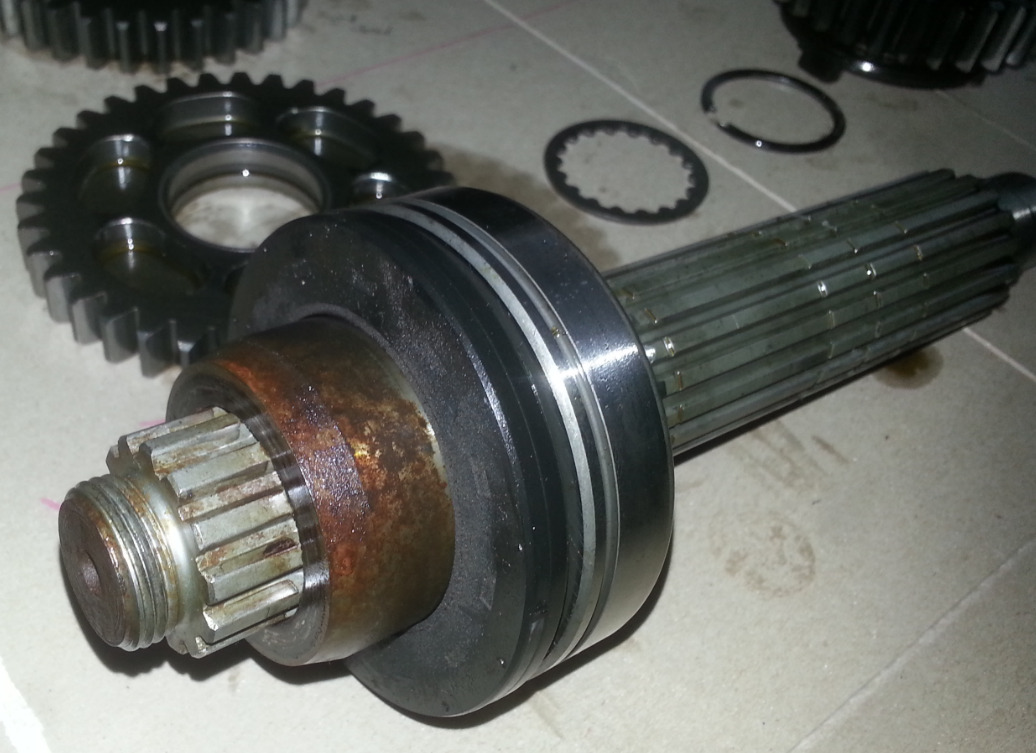
Output shaft after:
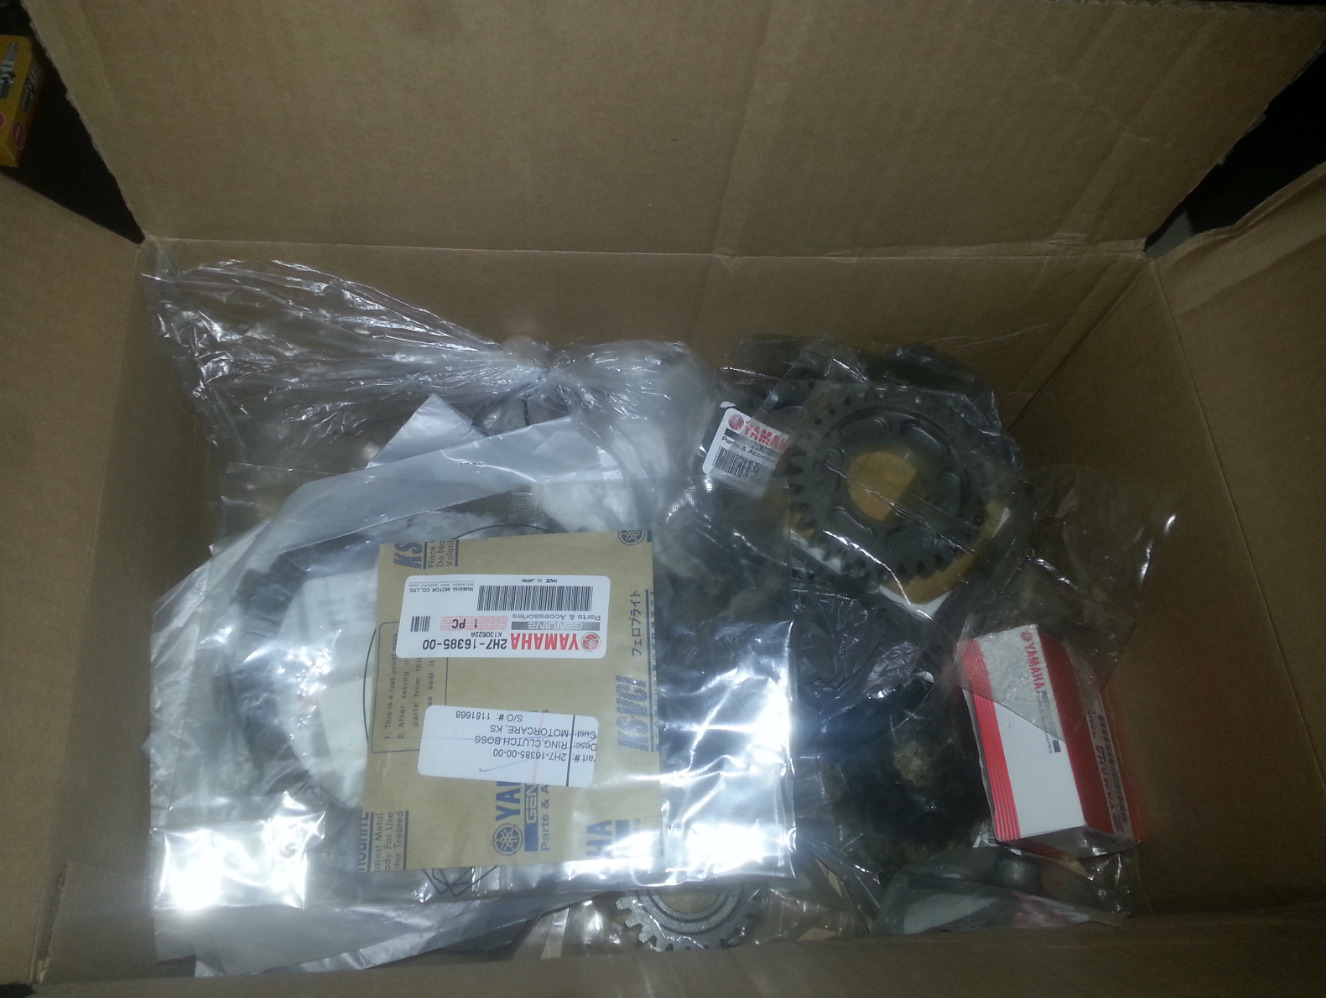
A Box of Gold
After waiting for what seemed like an eternity, the expensive box of wonders arrived.
It took a solid three weeks from the time I ordered everything under the “transmission” tab on the parts website to the point where UPS was knocking on my front door. It seems like a long time until you remember how old this bike actually is – it was born in 1999.
New part sources have somewhat dried up for these bikes in the States. It has probably been a good 10 years since it was last economically feasible to repair a transmission on one of these first generation R1s. When the demand is gone, the supply finds a way to dwindle out as well. I can only assume that when I hit “Buy” button on my shopping cart I sent some warehouse in Japan into a flurry of hunting for long-lost transmission pieces for a long-forgotten superbike.
I can only hope that someone in the supply chain of this parts order smiled when they saw it come through. Here they are, sorting through orders for new bikes all day when someone decides to drop dumb money on a parts order for a fully depreciated bike. I imagine them thinking, “This dude is my kind of crazy.”
The Build Up
Given that a full three weeks had gone by since I last messed with anything related to the engine and transmission, I had plenty of opportunity to forget all the little details that must be accounted for upon reassembly. This is where the organizational measures I took upon disassembly started to make sense. Everything was accounted for, from the smallest washer to the biggest bolt and everything in between.
New parts are so beautiful. When you hold them in your hands, inspecting their craftsmanship, wondering why they cost so much, you start to question whether you really want to immediately put them back into the transmission where they will never see the light of day again.
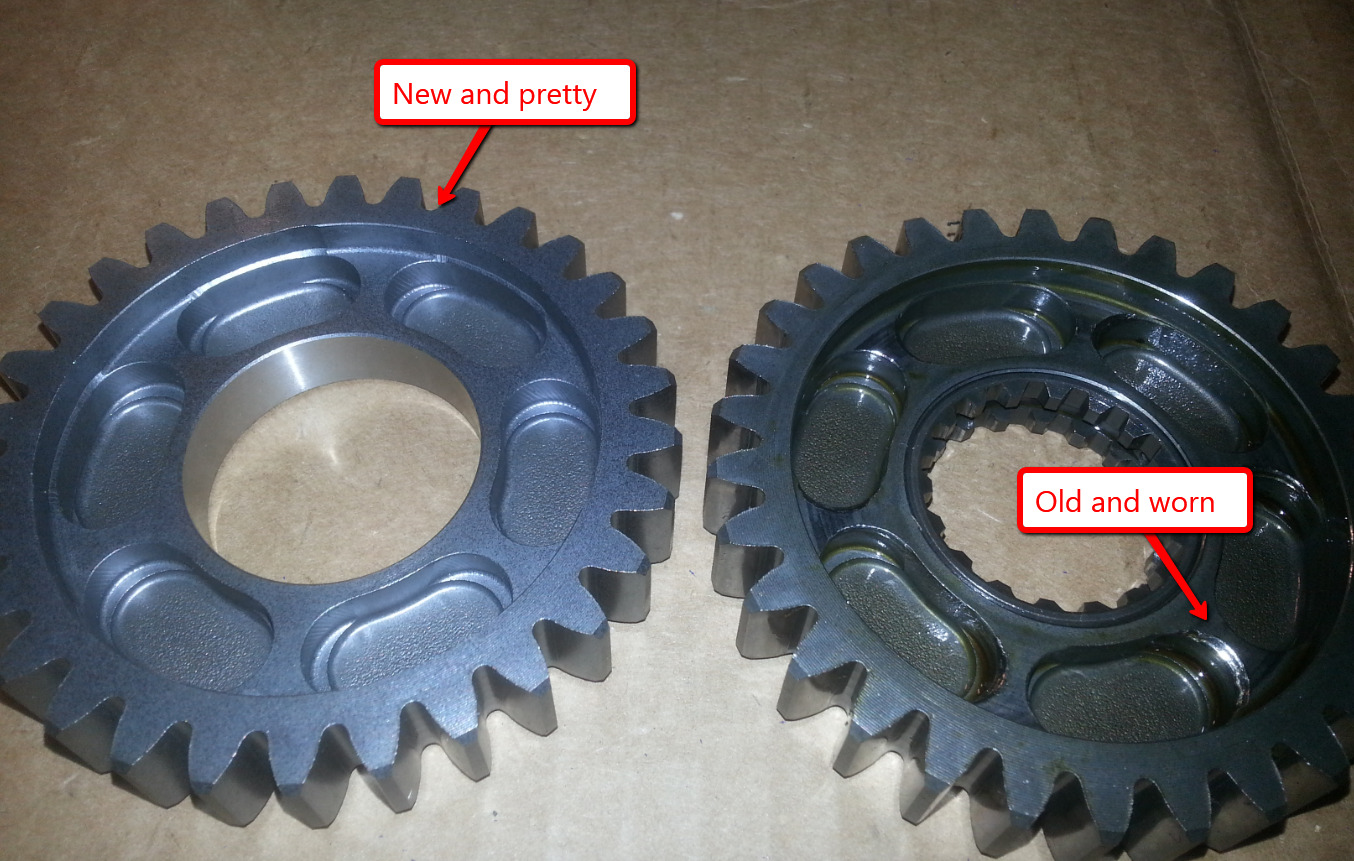
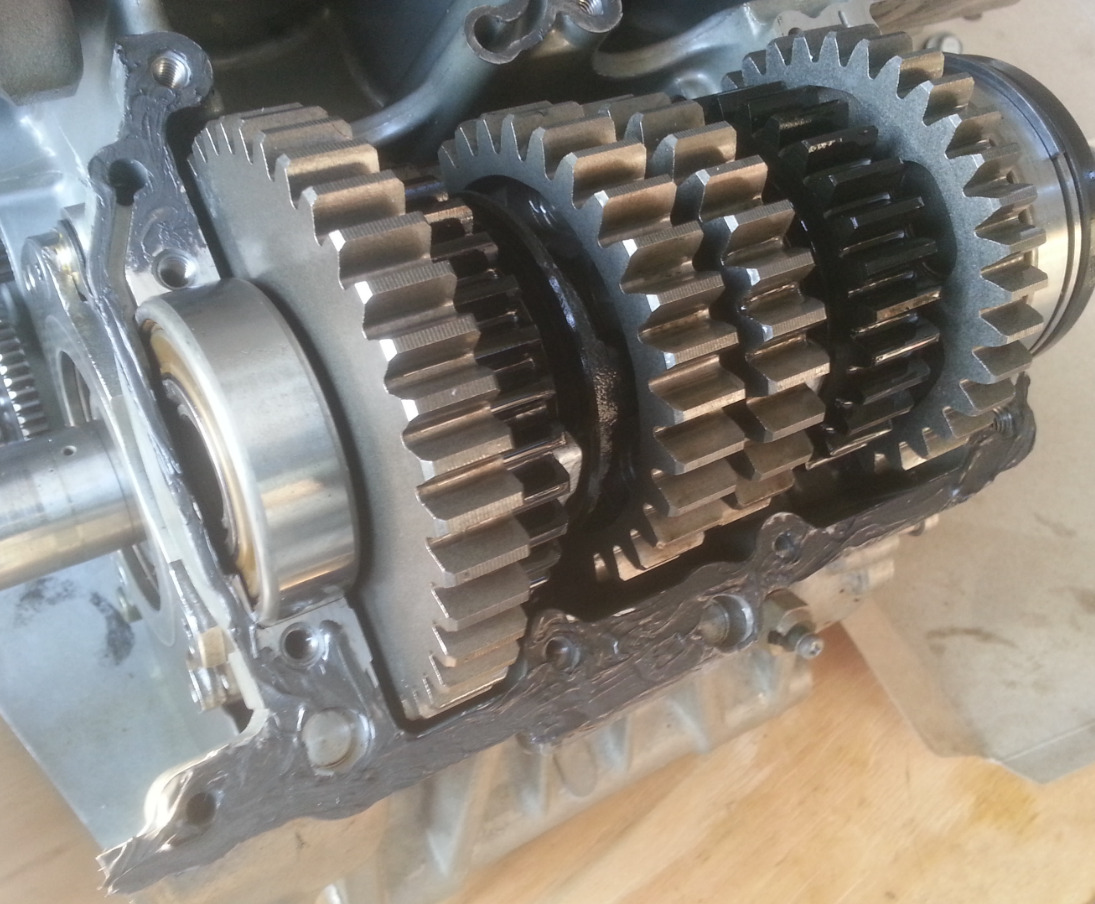
I got over that sentimental phase pretty quick. It was time to get this monster going again. First things first, put the new gears back onto their respective shafts.
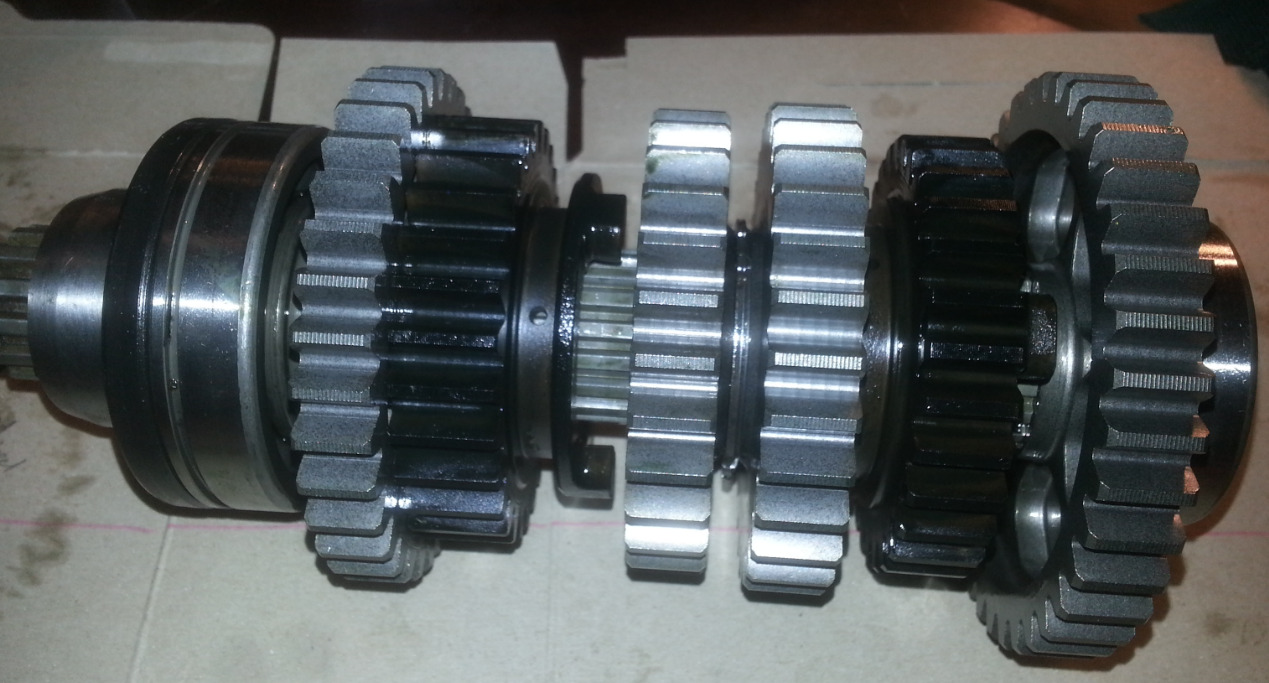
Well lubricated with engine oil, they slide on the shaft like butter and make a satisfying and weighty clink when falling into place. The input shaft is then reinstalled into the engine case. The new shift forks are relocated into position.
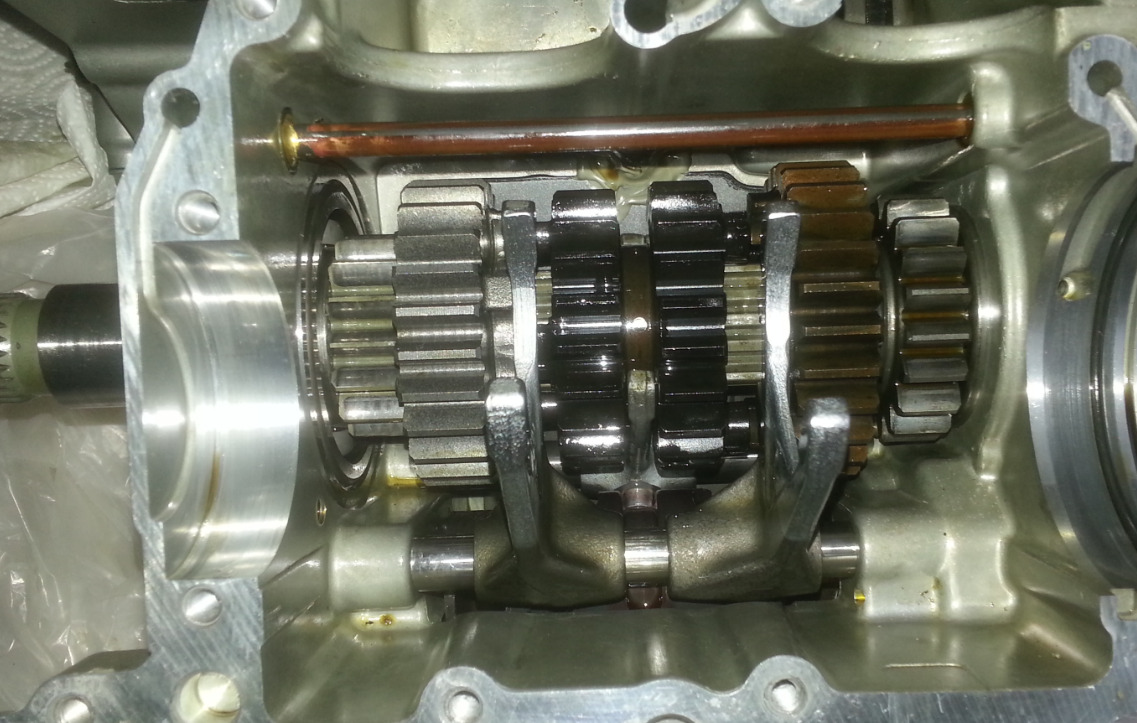
Next, the output shaft is installed. Note that I have lubricated the crankshaft main bearings with assembly lube (red tint) to ensure the critical contact points are lubricated on the first turn of the engine. You can also see my bolt organization method off to the right.
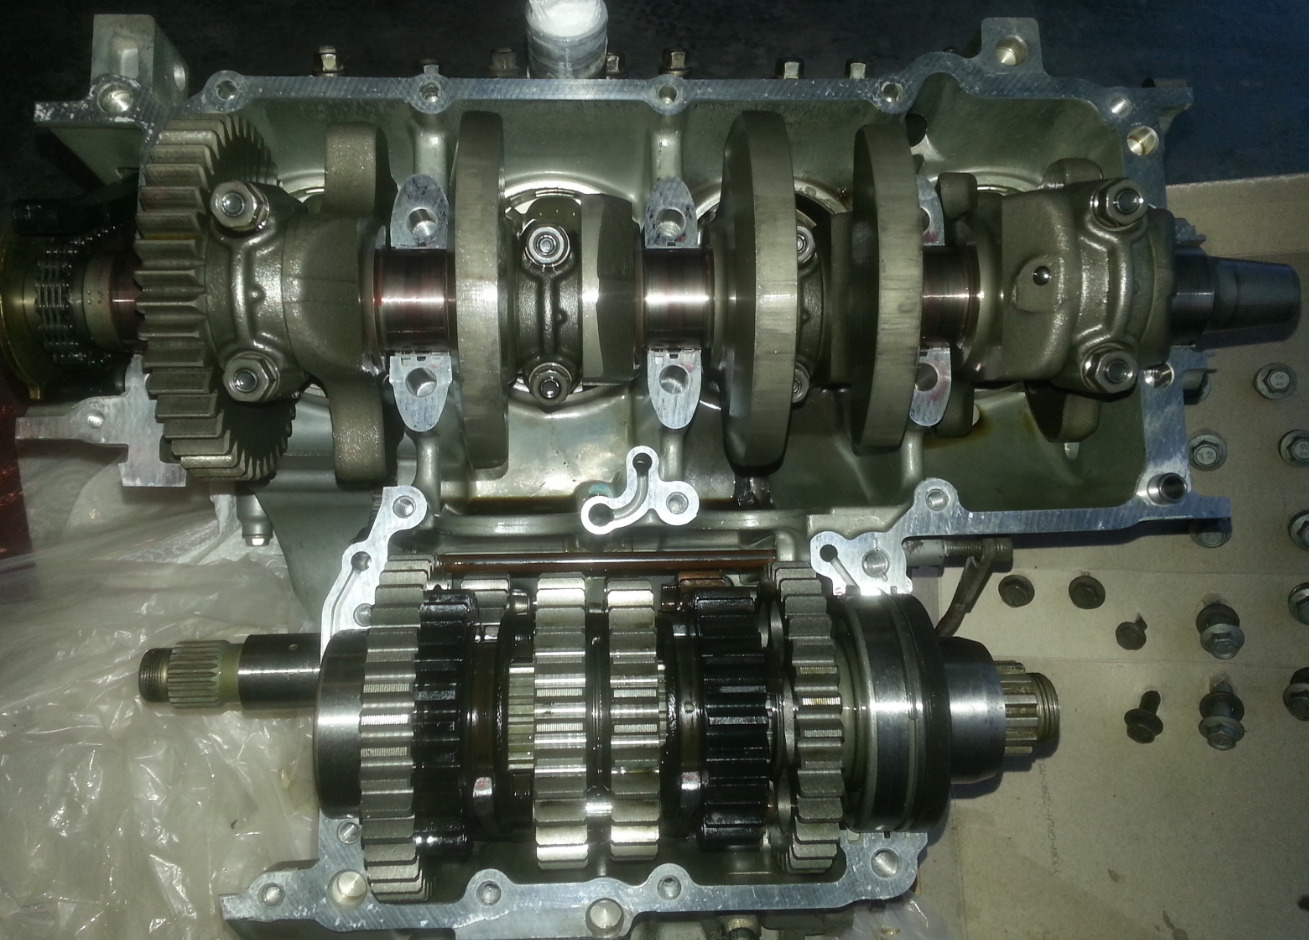
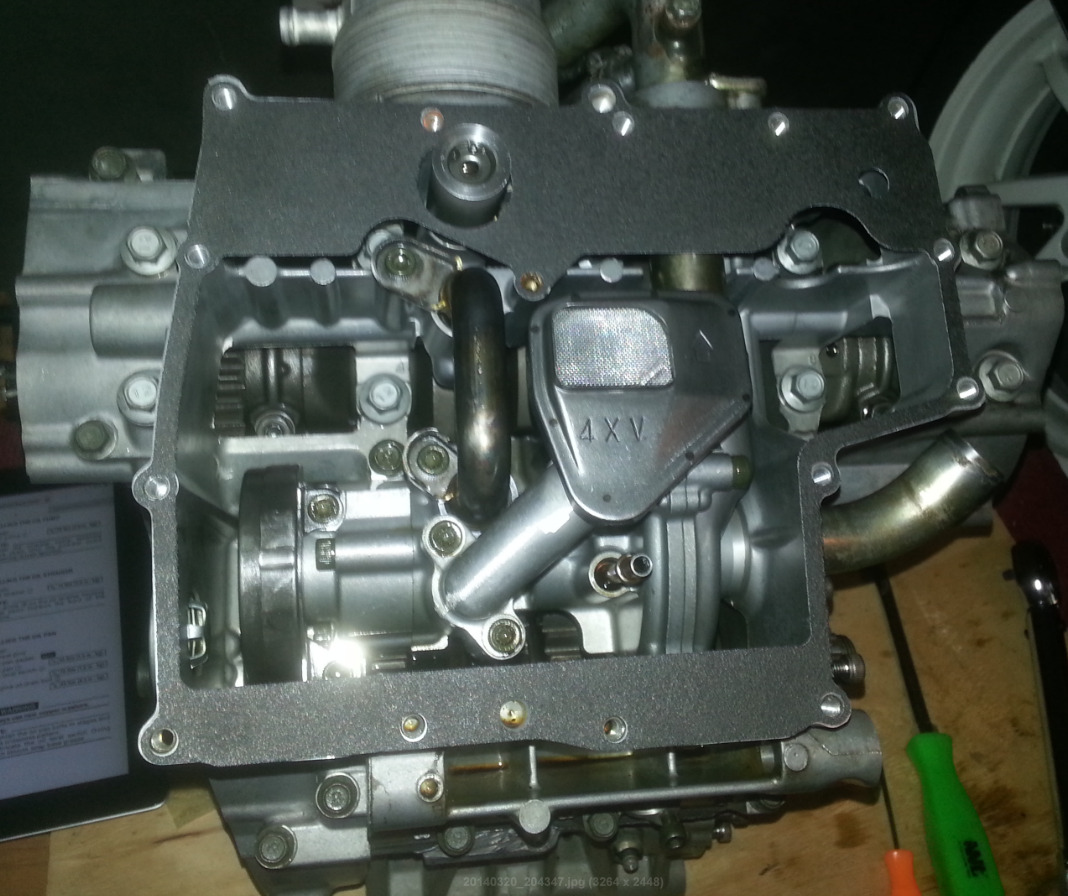
After inspecting for smooth articulation of the gears ensuring there is no binding, it’s time to join the cases together! You can see that I have applied sealant to all external edges of the engine case; the exact locations where sealant should go are specified in the Yamaha shop manual. The sealant is a little thick in places so I removed some after I took the photo. The last thing you want are sealant particles getting trapped in small oil galleries. This would equal bad times!
Once the bottom engine case is aligned with the top case, it is time to put the hundreds of bolts back into place that hold this hunk of metal together. If there was ever a time to have a torque wrench, this would be it. There is no excuse to not have one, as a decent one can be purchase for around $50. This alone will give you piece of mind in the assembly process. Once all bolts are back into place and torqued to spec, you can then install oil/water pump assembly. This was a bear to remove, but surprisingly, was easier to install. All that’s left after that is to slap a new gasket on the bottom and closer ‘er up!
Tip: Don’t reuse old gaskets. This is especially valid on motorcycles. They might look ok to reuse, but you won’t realize how bad of an idea it is until your back tire slips out because it’s covered in oil and you end up butt-first on the asphalt. Ouch.
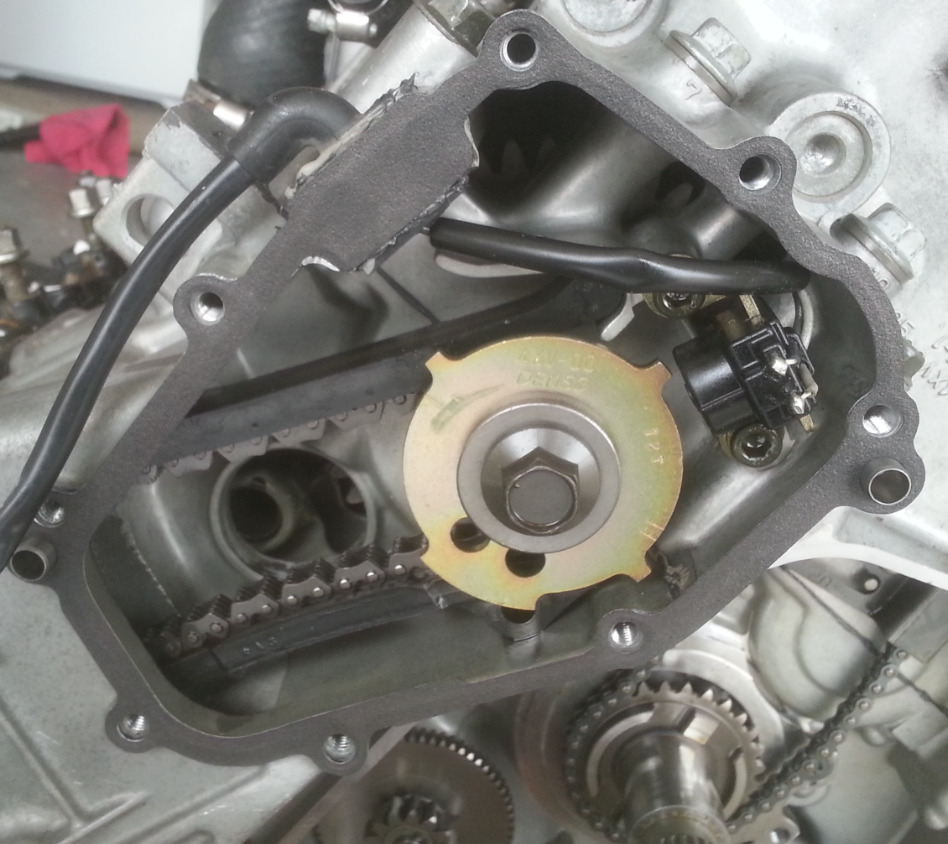
Next, the timing equipment is reinstalled and new gasket ready to go.
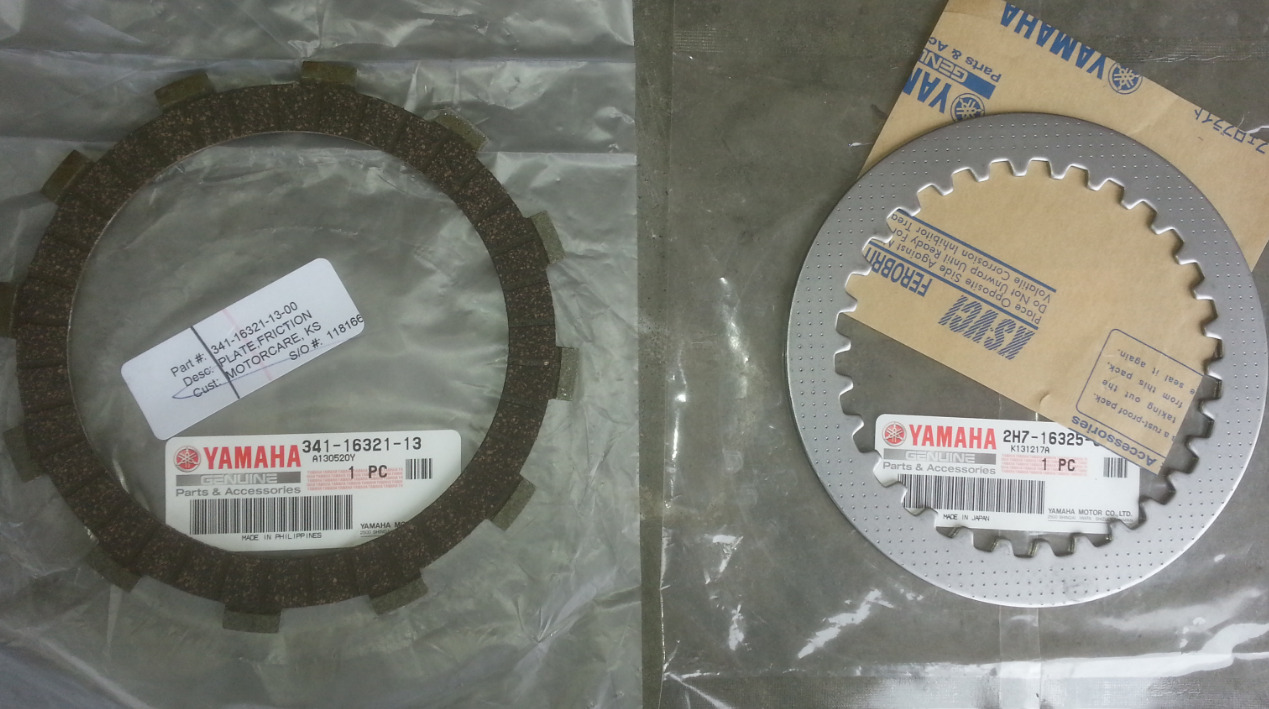
Now it’s time to get that clutch action going. The clutch that was in the bike when I got it was looking a little worse for wear. Just check out one of the clutch plate sets:
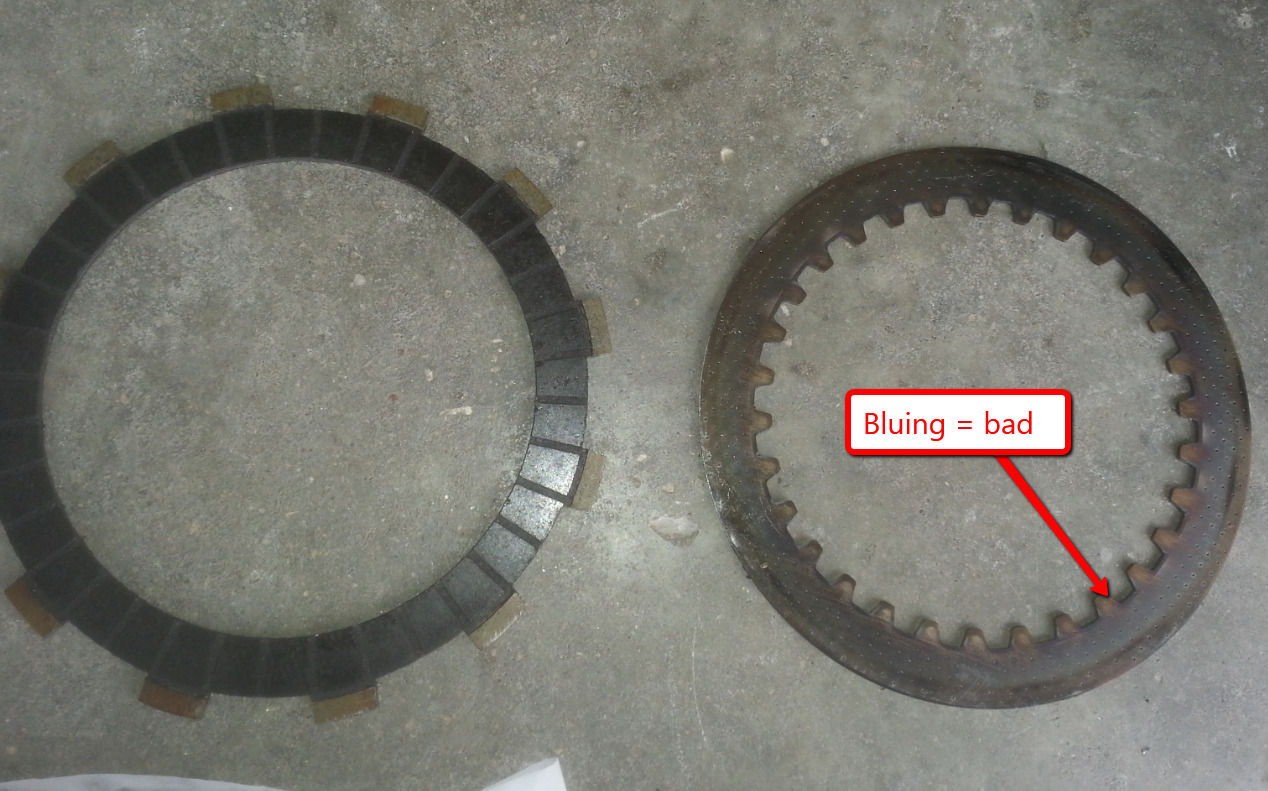
As you can see, there was some bad discoloration going on here. The “bluing” effect seen on the metal clutch plate is an indication of a rider who doesn’t understand clutch engagement points. There are many other ways for this sort damage to occur, but I believe our particular issue is down to riding technique. Either way, this leads to slippage and potential warpage upon engagement. Think “bucking bronco” every time you start to move from a stop. The only option was to replace them with new items.
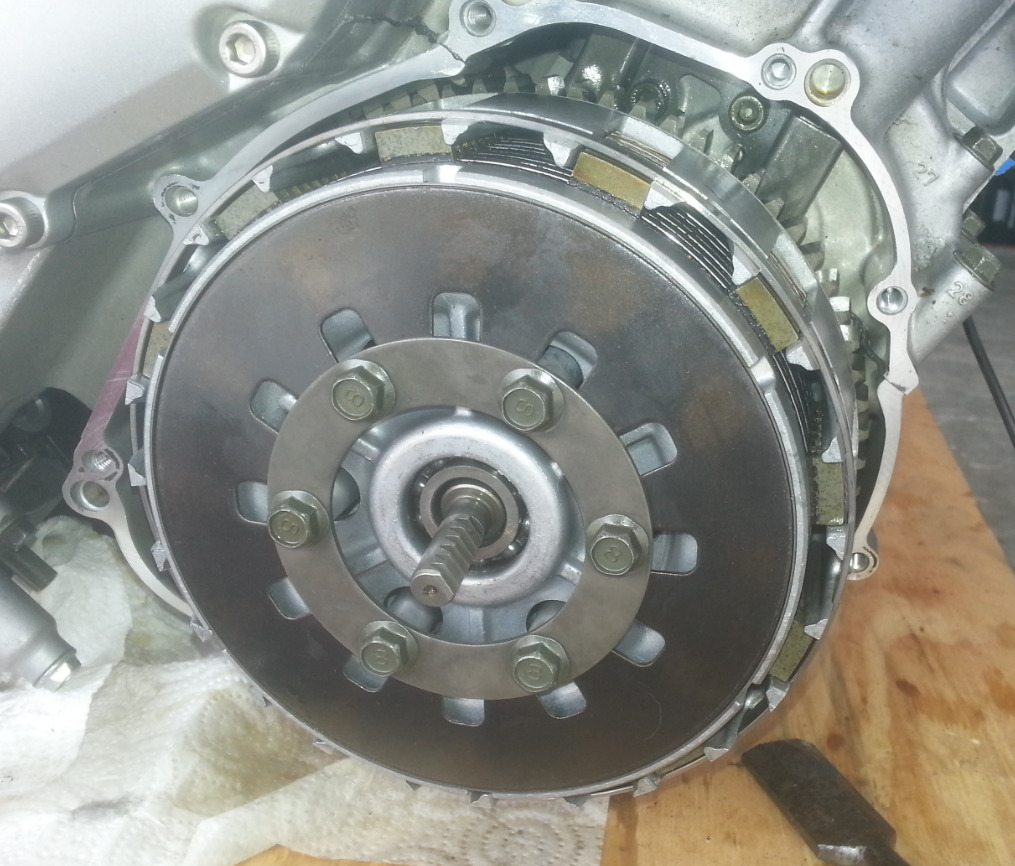
With the clutch pack reassembled and in new condition, it is time to stick it back in the engine. It’s such a warm fuzzy feeling seeing new parts go in!
The Education
This whole transmission disassembly ordeal began because the previous owner said the bike would not “shift correctly”. Now, I’m here to tell you all who have made it this far into this never-ending story that it pays to read between the lines.
This is something I did NOT do. So I paid the price. It’s the price of an education.
It’s so easy to get caught up in the previous owner’s “symptoms” of the problem and their thought process on how to fix it. In this case, it made sense to the previous owner to immediately start tearing deep into the bike in an attempt to discover the root of the shifting malady. However, if I had done my homework of researching common problems with the R1 (and Yamahas in general as it turns out), I could have saved myself a huge amount of time and cash.
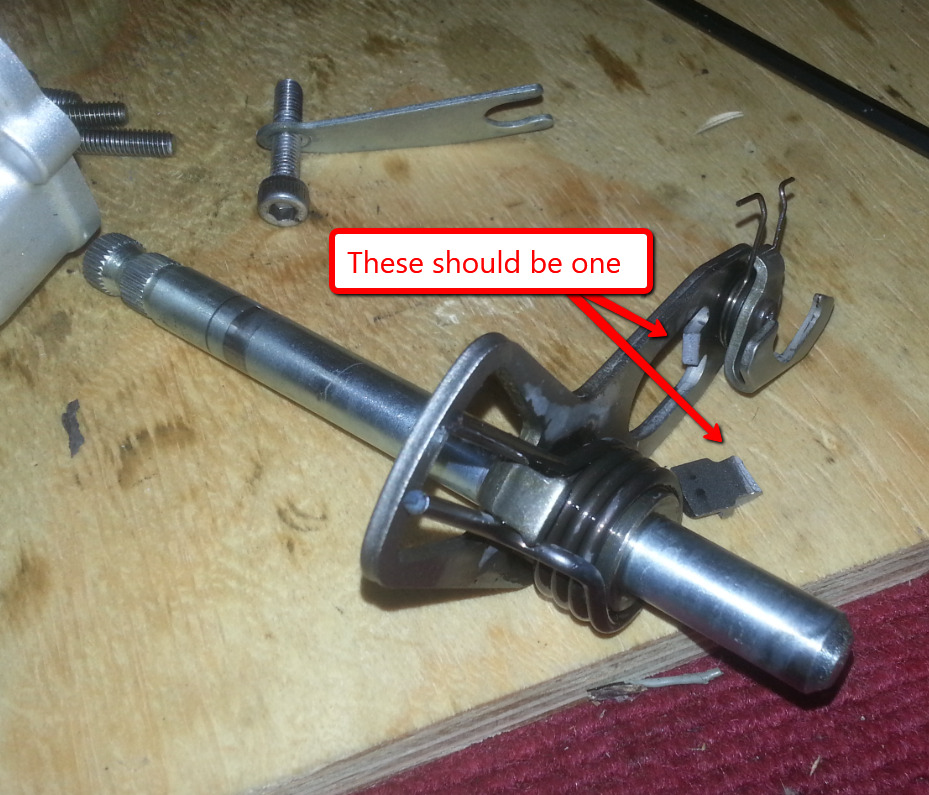
It turns out that these bikes are notorious for having the most fragile shift shaft assemblies in modern motorcycling history. Frequent poor shifts can cause a multitude of bad things to happen to the shift shaft, including sheared mechanisms and broken springs. It should be noted that the shift-shaft assembly can easily be accessed with the engine in the bike. No disassembly required.
So, when I reached the shift shaft installation stage in the engine reassembly process, guess what I found?
A broken shift shaft. How novel!
Yes, you read that right. For less than $80, I could have had myself the cheapest assembled and running R1 in history.
Damn.
Shift shaft assembly: $76.55
The Marriage License
With the engine completely buttoned up and the true source of the shifting issue discovered and fixed, it was time to marry the engine with the rest of the bike. With the engine teetering on my trusty Harbor Freight jack, I guided it carefully into position. With all mounting holes aligned and with the wiring harness hung out of the way, I quickly threaded in the engine mounting bolts. It was done – then engine and frame were officially one.
Everything from this point forward was a flash of events as most parts went together with relative ease. I had the bike completely reassemble over the course of a weekend. I’ll let the pictures do most of the explaining.
Starting with the top of engine, I went to install the carburetor rack. I will admit, this part was a second only to the flywheel removal in terms of difficulty. For anyone wanting to remove the carbs from a 16 year-old bike, you have been warned. The rubber boots holding the carbs to the engine are about as malleable as dried concrete. A heat gun, grease, and some well-grouped rubber mallet strikes will eventually persuade it into place.
I am stickler for absolute originality. I would say I’m probably borderline insane on the subject. The thought of bringing a bike that was so far gone back to factory-specification got me all kinds of excited. Hopefully, some of you can appreciate the following:
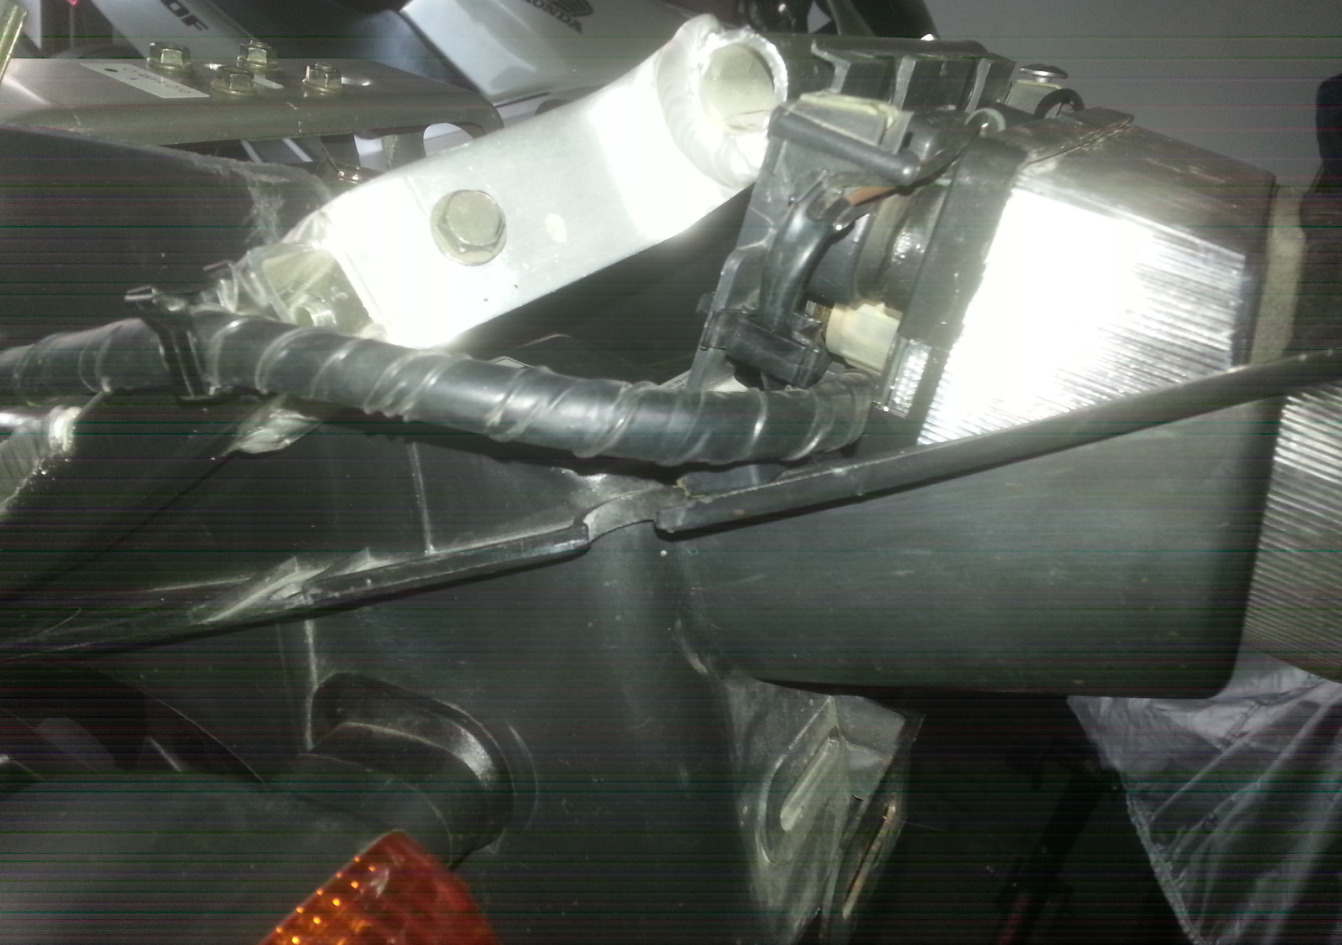
Factory-correct wiring harness routing.
A step easily skipped – but not easy to get correct. If you aren’t finding a home for all the plastic retaining clips, then you aren’t doing it right.
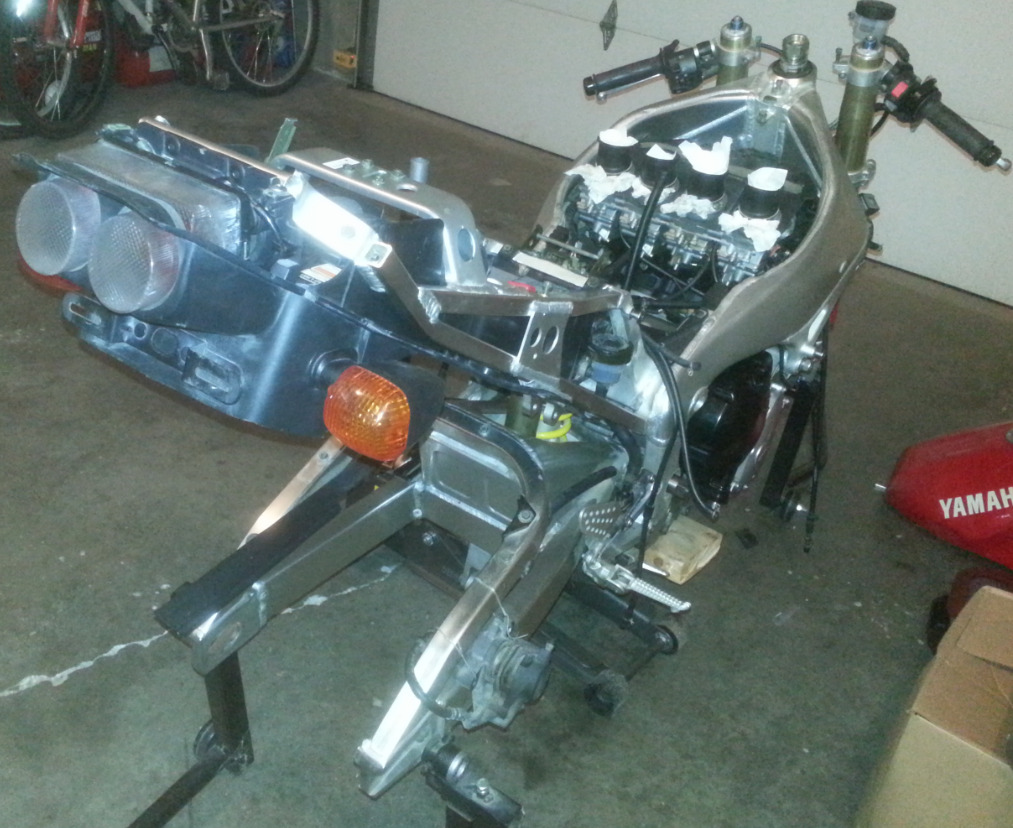
Original mudguard and undertray with turn signals. Yeah, the taillight isn’t original, but I thought it still looked OEM-ish.
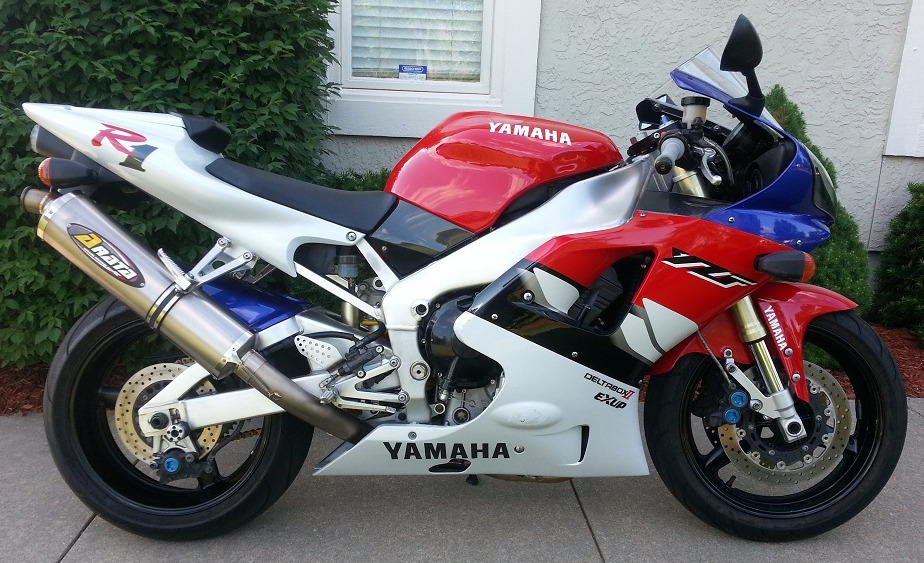
Next, the full titanium Arata exhaust is installed. This pricey jewel came with the bike. Yes, believe it. After that, the gas tank is installed and new handlebar grips are put on.
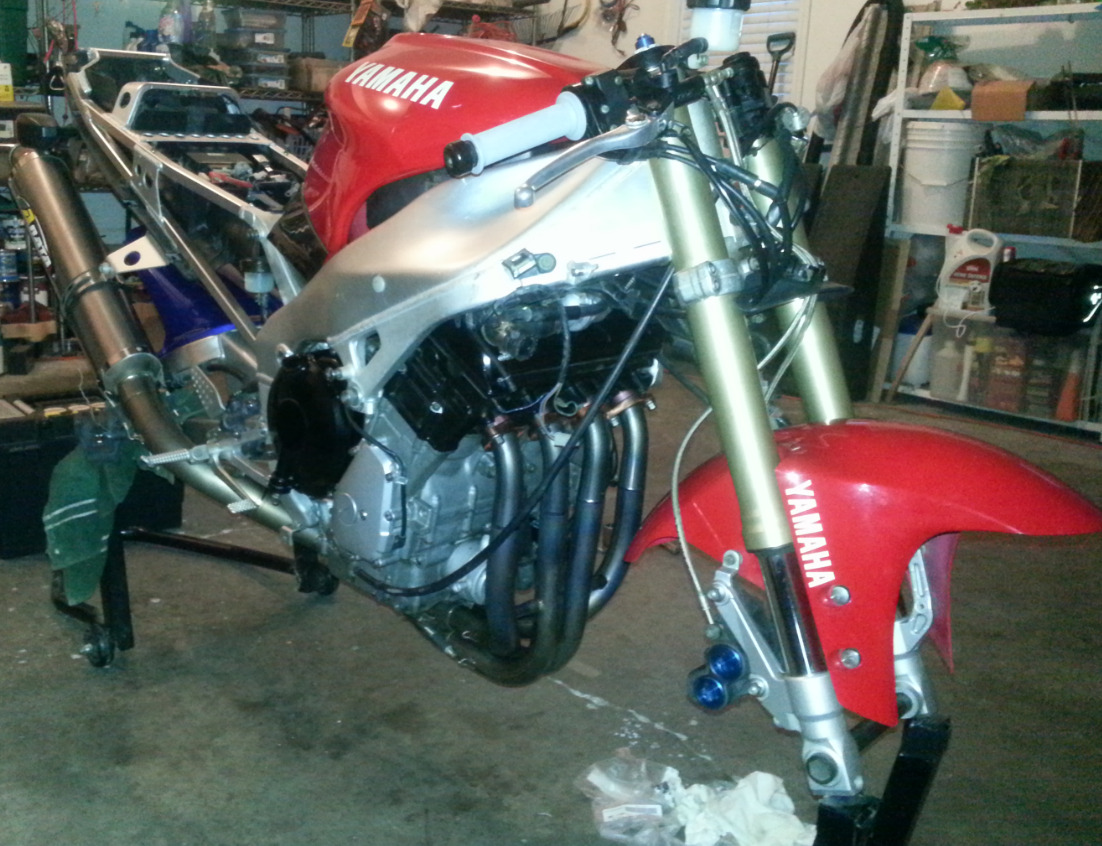
At this point things are moving quickly. The radiator is now in, the wheels are cleaned, new sprockets are on and new tires are installed. It’s almost there!
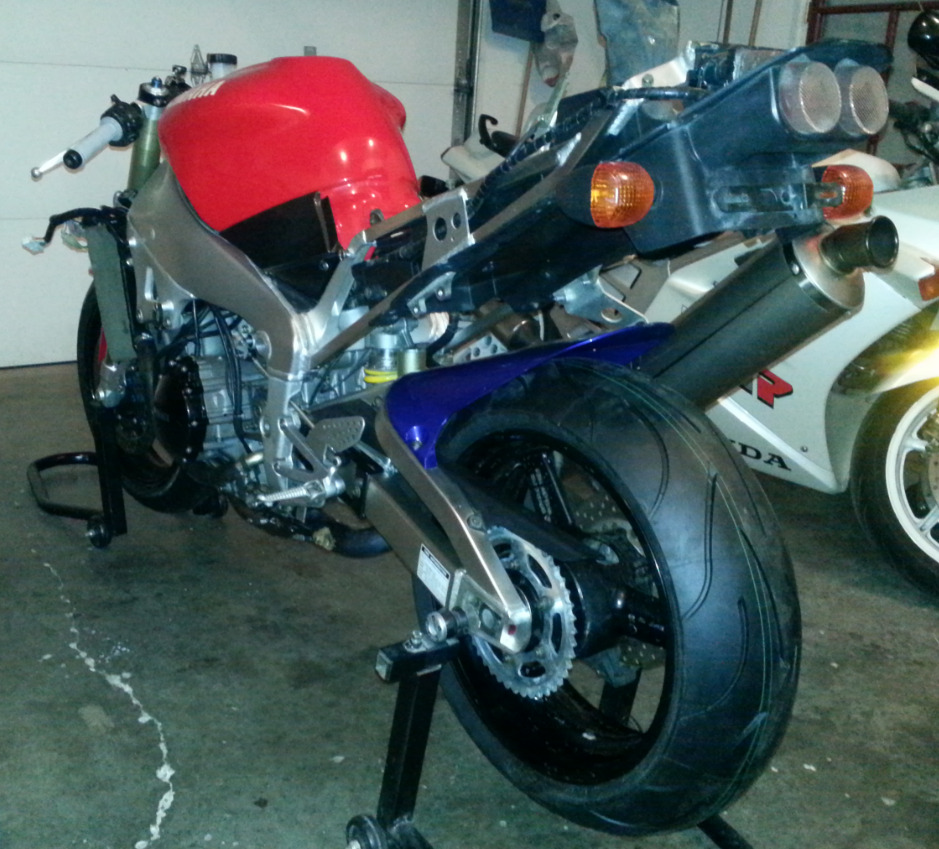
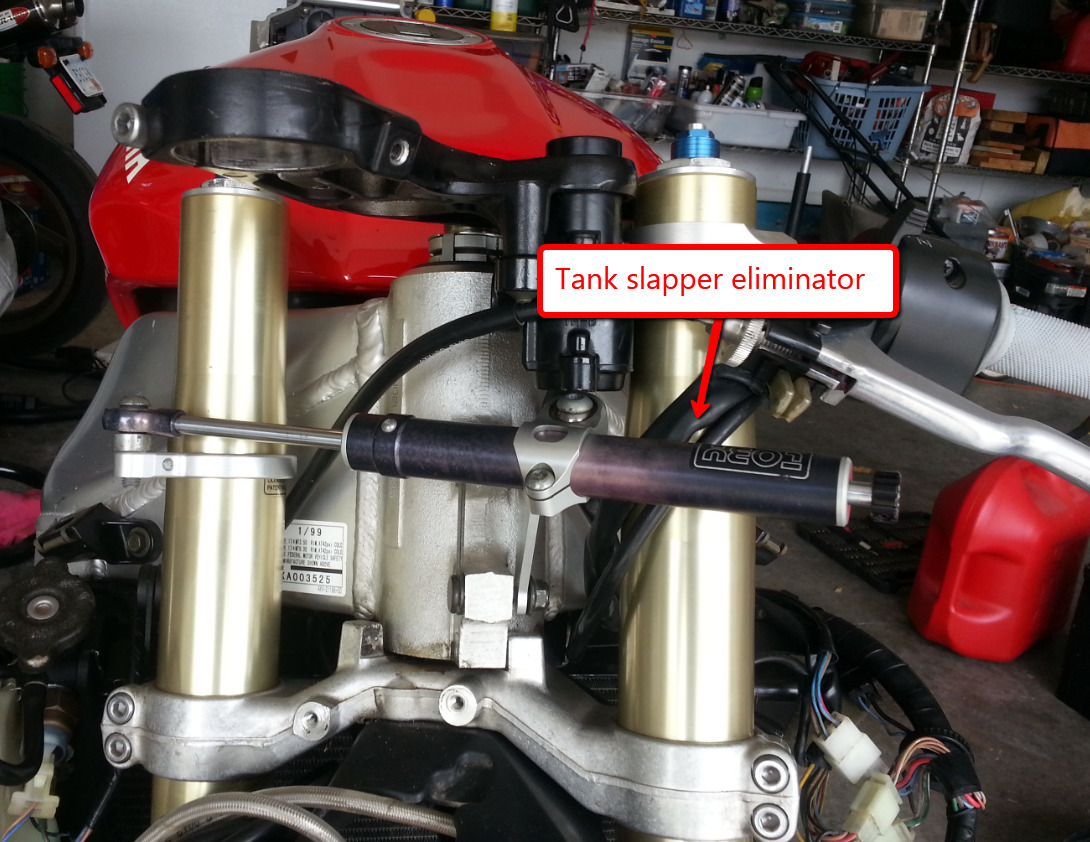
Next, I installed a steering damper. Believe it or not, Yamaha did not put a steering damper on these bikes from the factory. Seeing as how this is one of the first bikes legitimately able to do power wheelies at non-legal speeds, I figured it was a good idea to slap one on there. Another wonderful Ebay find!
With a new gold RK chain installed, all fluids changed and topped up, and most of the body work finding its place, the bike that once wasn’t, almost is.
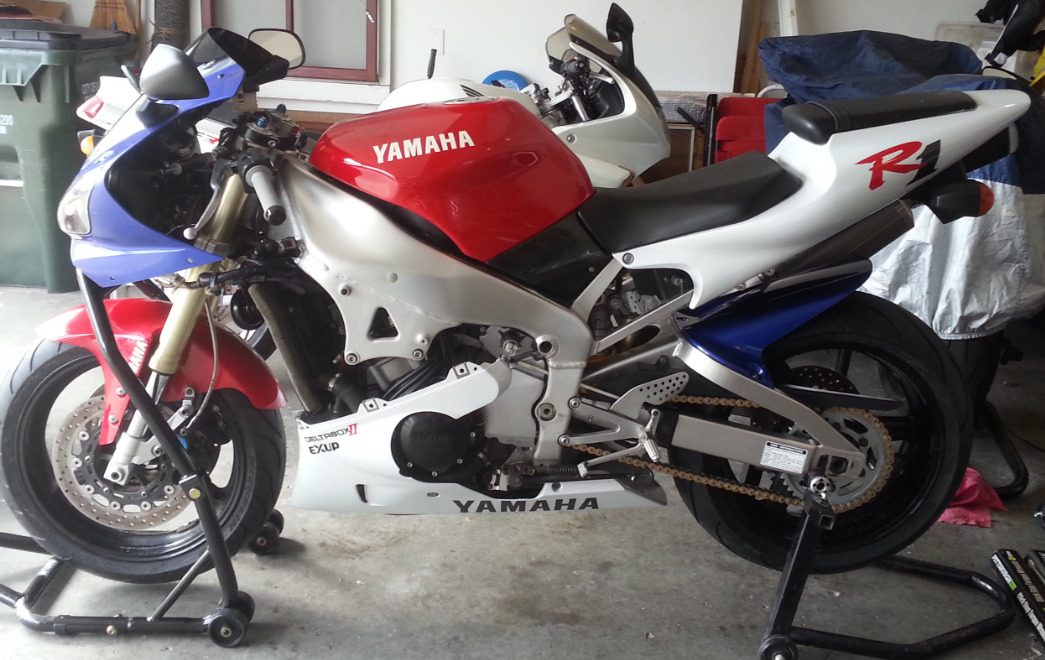
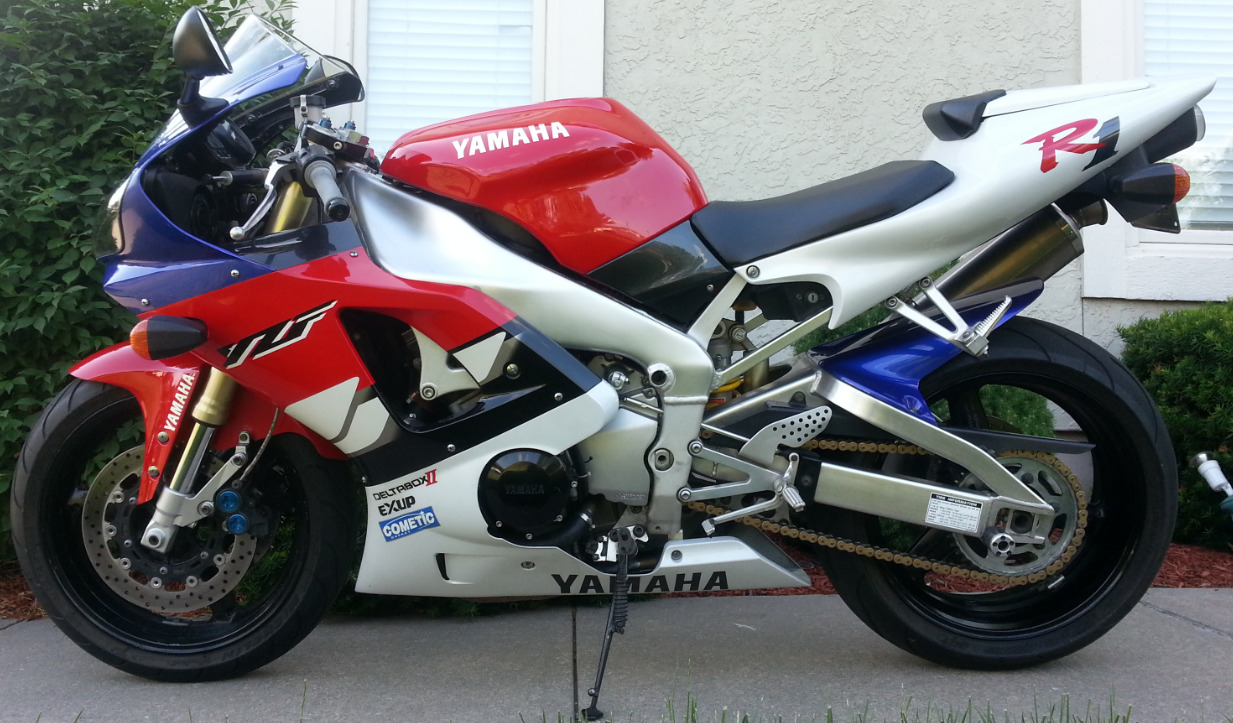
You may be asking, “Why is the front cowl blue?”. Unfortunately the original red cowl didn’t survive one of the encounters with the ground, so a blue one was sourced as a replacement. I can’t complain too much as it was included in the original purchase. The blue rear fender hugger almost makes it look as though the color scheme is intentional.
Then it happened. I rolled her out of the garage for the first time as one bike.
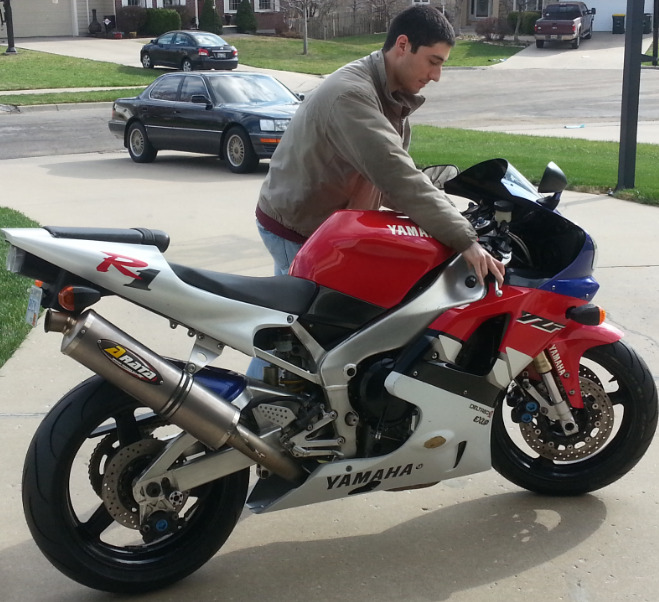
At long last, the finished product was formed. Glamour shot time, yo!
What a Ride
Did it start? Did it shift? Did I forget that motorcycles have 2 wheels and aren’t great at balancing themselves? DID I DROP IT?! The answer to the last one is no. No I didn’t. But for the rest of your pending questions, you’ll have to check out my next and final installment of the series. All of the deepest questions will be answered. Kind of.
Expenditures:
Initial purchase: $300
Transmission rebuild parts: $1,235.97
Tires: $310
Extra parts: $123.55
Labor, shop supplies, misc: $464.58
Insurance, Tax & Registration: $357.85
TOTAL: $2,791.95
Leave a Reply