Appliance. It’s a word typically associated with large square objects that plug into the wall. They are machines that perform tasks tirelessly, and do so without ever throwing a fit. That is, until they do throw a fit.
Many of us own appliances of the four-wheeled nature. They aren’t often thought of as “appliances” because we use them for more than just one specific task, not to mention they cost a considerable amount of cash. However, cars that are as reliable and trustworthy as an old pair of shoes are just that: appliances. They do everything that your daily life requires of them. They do not promise fast lap times; they do not win car shows; they do not get printed out on posters to be hung up in children’s rooms. They are vehicles; nothing more, nothing less.
As with anything earth-bound that is subjected to the ills of growing old, our appliances eventually wear out. When this occurs, our trust with said machine is shaken. We can no longer count on them as reliable work horses. Many of us will sever our connection with these machines at the first sign of trouble. All history and memories are for naught. We elect to dispose of the machine and replace them with new, and then the cycle starts over. Until, of course, we wear out.
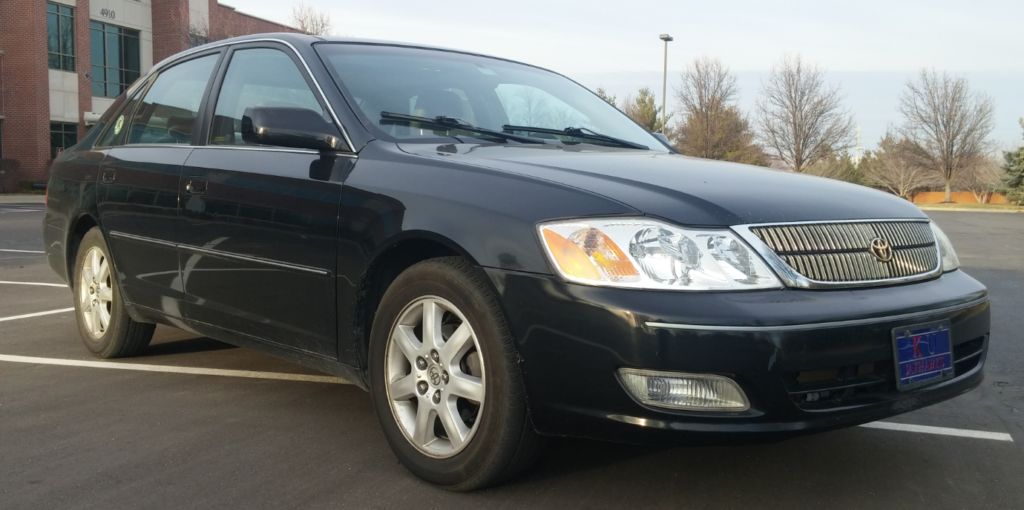
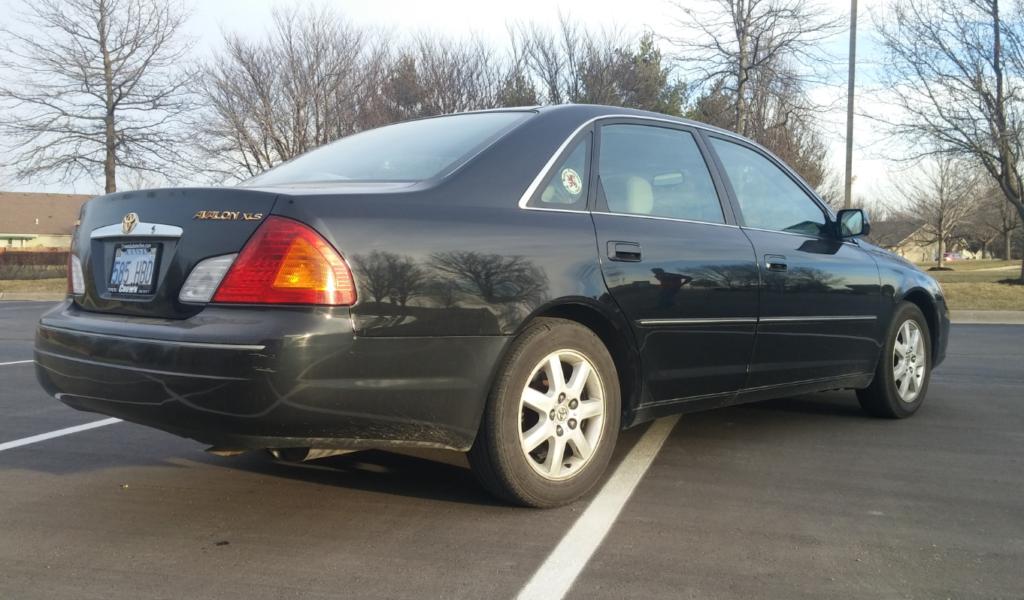
A Toyota Avalon is a mass-produced large front-wheel-drive Japanese Buick that is the nicest sedan on the Toyota lot when new. Ten years on and it fades into the back drop. Give it 17 years and it is thrown out to pasture like it never even happened. This is what a car gets when it does everything expected of it and asks nothing but oil changes in return.
It doesn’t have to happen that way. And when it came to mom’s 2000 Toyota Avalon, I made sure it didn’t.
Listen Up!
While there are all sorts of valid reasons for why keeping a tired vehicle alive is not worth it (i.e. catastrophic rust, accident damage, etc.), basic mechanical maintenance should not be one of them. Commonplace for many cars from the 80’s, 90’s, and mid 2000’s, the Avalon has a rubber timing belt that is the central conductor for the engine’s many moving parts. If the belt is broken, the car does not run.
Aside from the timing belt, there are rubber oil seals, a water pump, pulleys, bearings and other crucial amenities that have allowed the car 17 years passage of complete dependability. As they begin to wear, the car exudes noises, strange smells, and picks up a habit of marking its territory. Many will attribute this to the car gaining “character”, but what’s really happening is the car telling you that it needs help. It doesn’t want to let you down, but if you aren’t listening to it, it won’t have any choice.
All of this “character” was present in the Avalon. It had a genuine 140,000 miles and never let anyone down. I could hear the shrieks for “Help!” that no one else could. I cleared my weekend schedule and went in to save the troubled auto before something irreversible happened.
Getting Down To Business
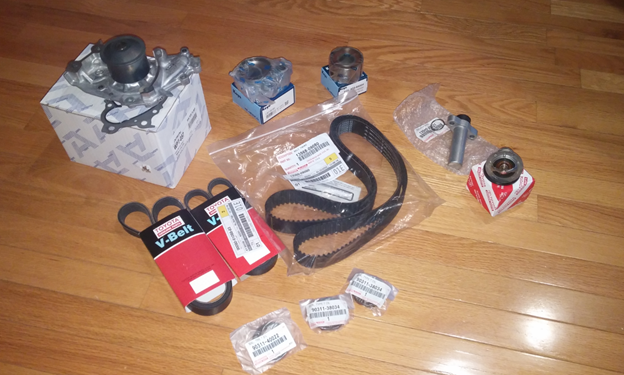
The first order of business was collecting all the necessary parts to do the required maintenance. Having done a few timing belt jobs in the past, I knew what I needed to get. Original Toyota parts are what got the car to this point, so that was all that was going to be put back in it. Dealerships can be a great one-stop-shop to ensure you get the correct OEM parts. However, you can save a decent amount of money by figuring out all of the OEM part numbers and then doing a simple Google search to find the best prices including shipping. You may have many separate orders, but in the end, you will have gotten yourself a better deal. It comes down to convenience of getting everything right now, or waiting a week or two. I knew I had some time before starting in on the repair, so I went the latter route.

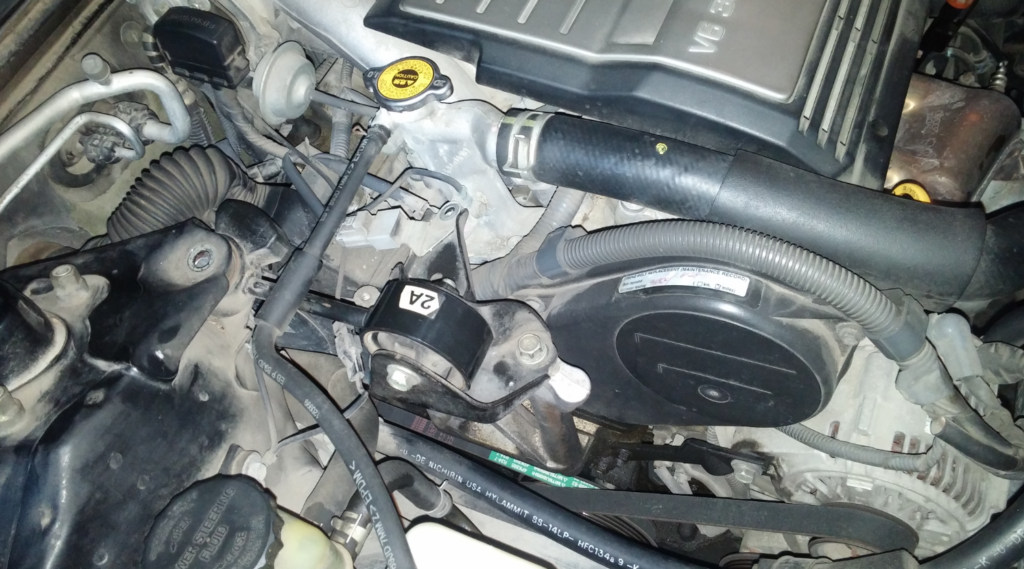
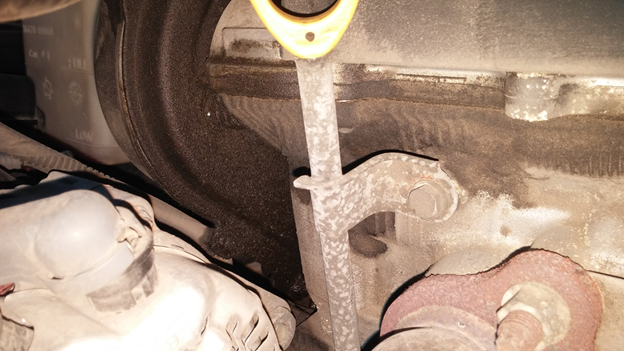
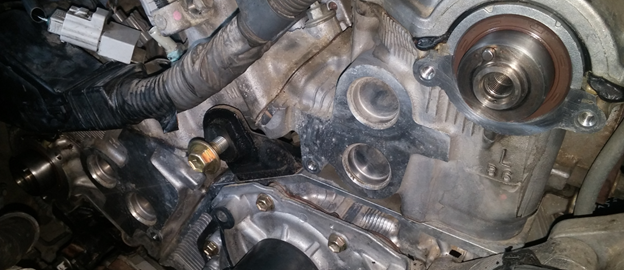
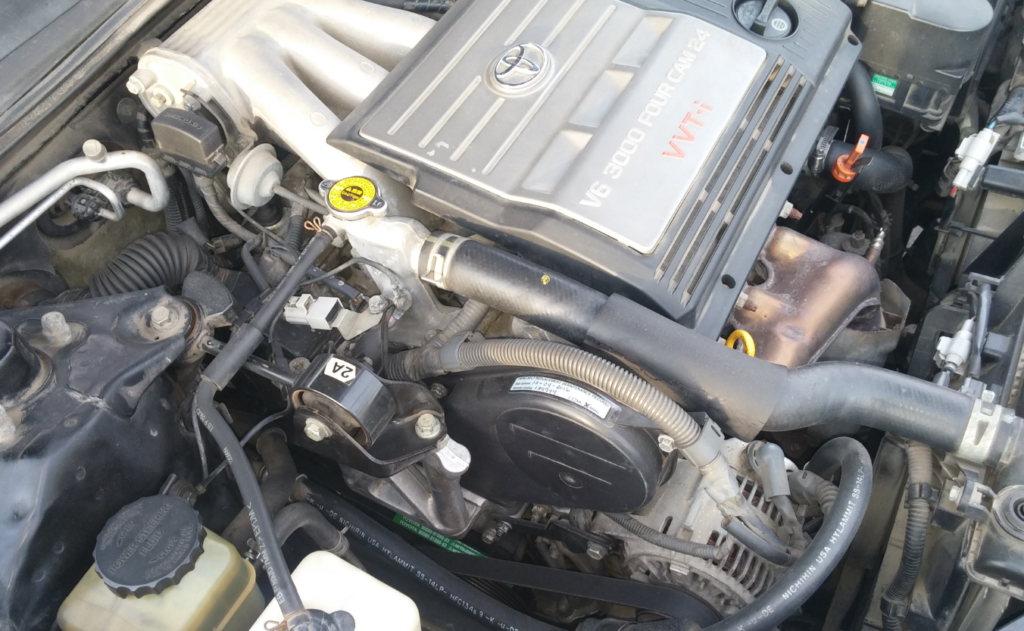
When I opened the hood on the Avalon, I could tell straight away that it had never had any moderately invasive maintenance performed on it. Here you can tell that oil was leaking from what appears to the camshaft seals. Replacement of these seals should be a requirement whenever changing the timing belt. The timing belt had been replaced once before in the car’s lifetime, but apparently the shop elected to skip replacing the seals.
The lowest point on the engine sees the largest collection of the leaked oil. When mixed with road grime it starts to look pretty nasty. This is what makes a routinely maintained vehicle look severely neglected.
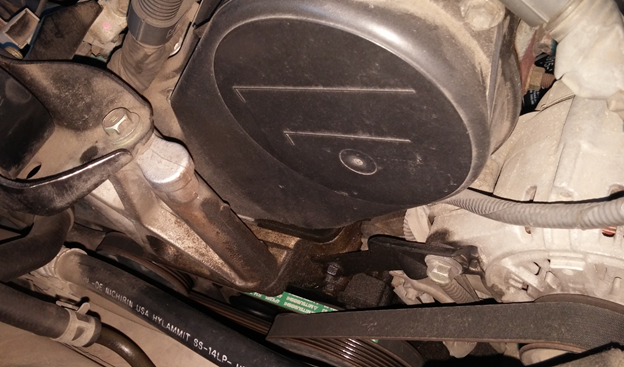
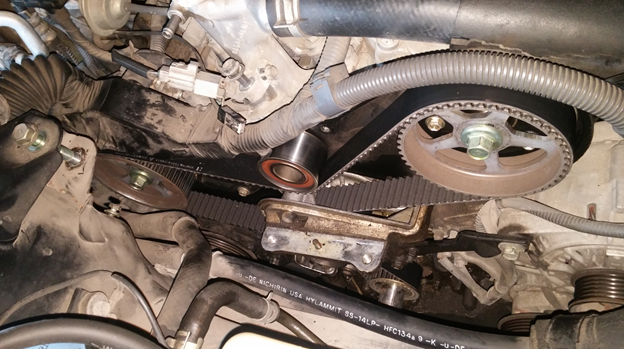
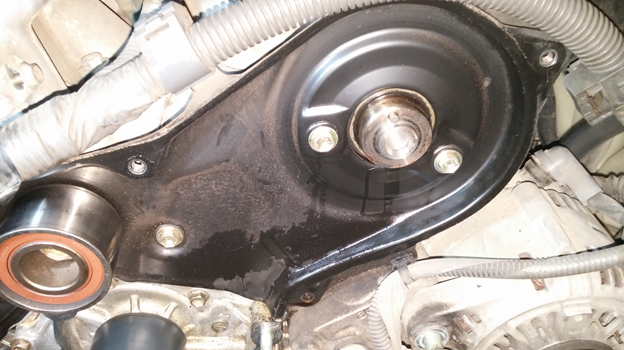
With the timing belt covers removed, you can begin to see the work that lies ahead. Front wheel drive vehicles lend themselves to minimal work space due to their transverse engine layout. The clearance between the engine, right shock tower and frame rails will make for memorable events going forth.

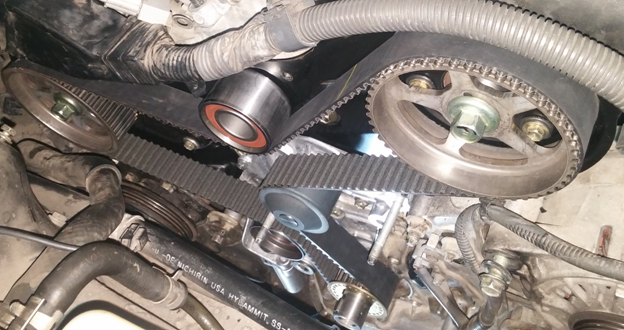
The timing belt looks in remarkably good shape for the amount of miles on it. As you can see, the early stages of oil contamination from the leaking oil seals will certainly abbreviate the belt’s remaining life.
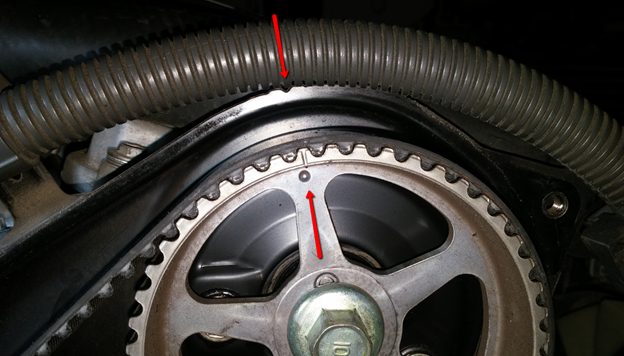
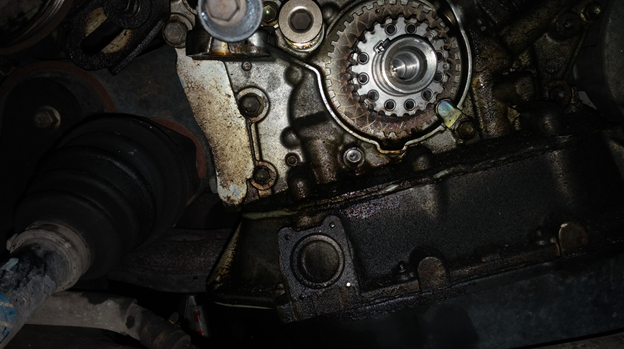
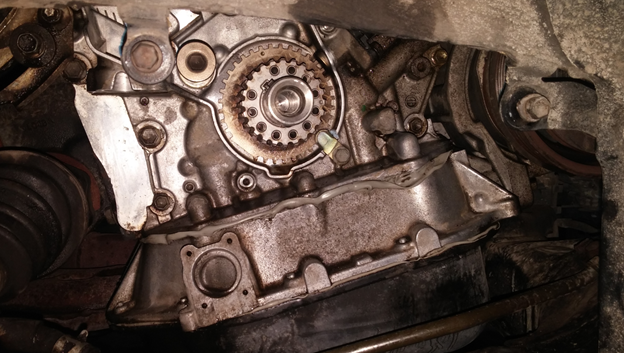
When doing a timing belt service, one of the most critical steps is to make sure the engine is at top dead center before anything is removed. The manufacturer’s engineers are on your side with this one and have clearly marked on each belt sprocket the correct orientation that designates TDC.
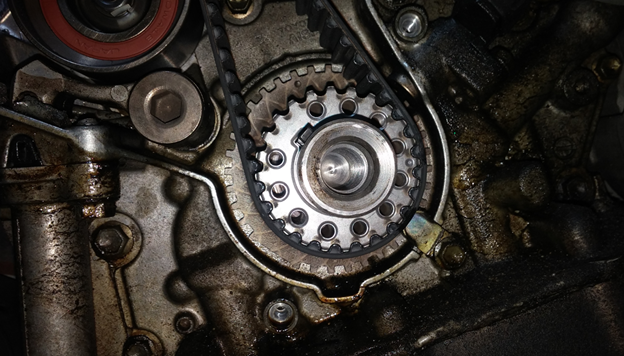
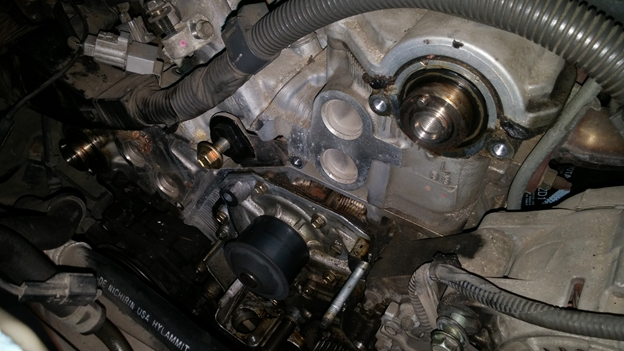
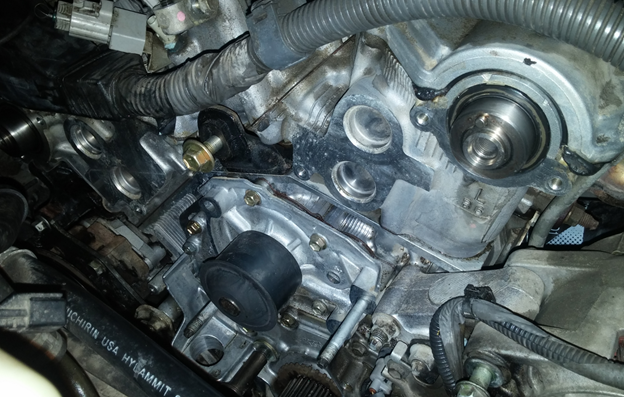
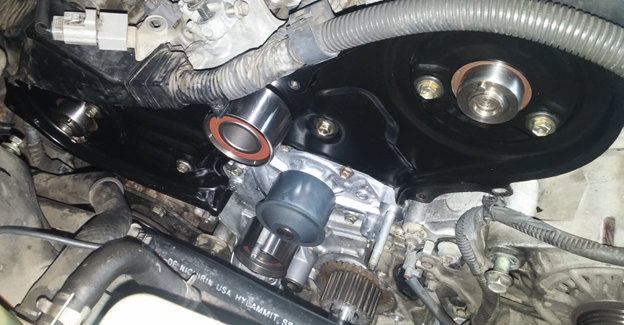
With the timing belt removed, the camshaft seals are exposed. The amount of oil that the seals were allowing past was considerable. You can clearly see a stream of oil that had developed.
Before removing any parts that allow dirt to get inside of the internal passages of the engine, it is important to fully degrease the work area. Sloppy and rushed mechanics forgo this step, but it can prove to be as crucial as the actual repair itself.
Before:
During:
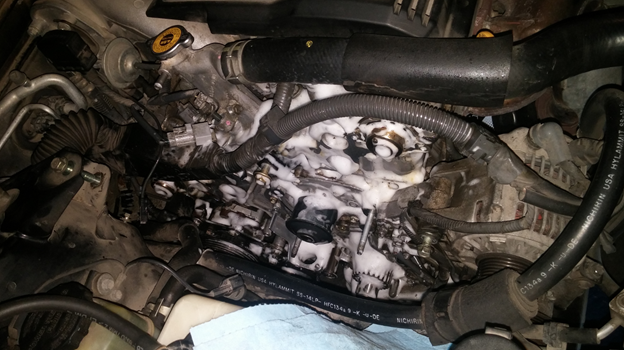
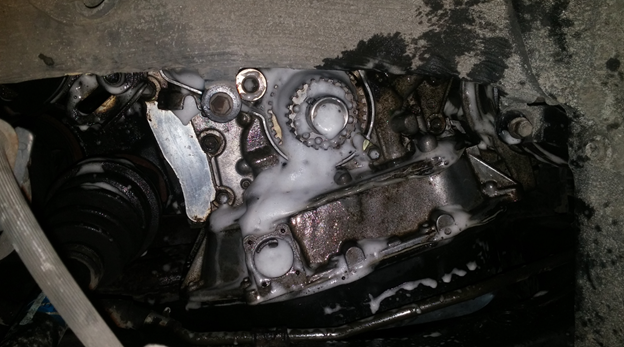
Don’t be conservative with your degreaser application. Make sure you have a tarp underneath the car to catch all of the grossness that ensues.
After:
Not only does this make everything look nice and make the engine run cooler, it also reduces the opportunity for unwanted particles to enter oil and water passages of the engine when you begin further disassembly.
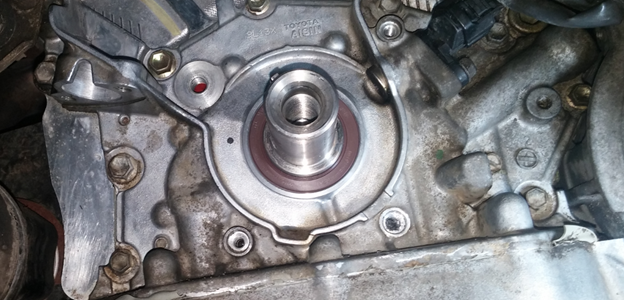
It was now time to remove the seals from the camshafts and crankshaft. This is by far the most difficult part of any timing belt replacement. It is crucial to not damage the camshaft surface where the seal lip rides.
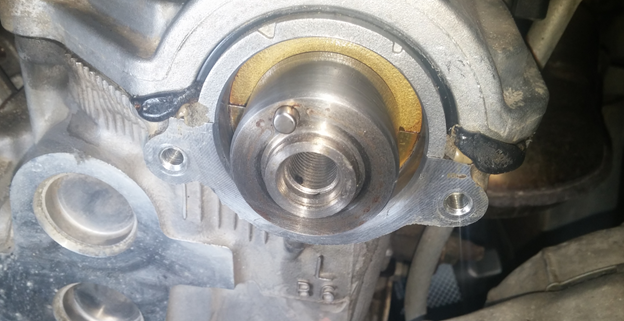
Installing the new seals requires a bit of creativity, especially on a front wheel drive vehicle. A combination of custom-made pvc pipe drivers, crowbars, and rubber mallets will eventually see you the seals’ installation. The seal for the camshaft nearest the firewall is a real treat to remove and install.
As a matter of course, water pumps should always be replaced when changing a timing belt. The old pump may be perfectly fine, but are you willing to bet that it will be fine for another 100,000 miles? When it’s $60 for an OEM replacement, I sure hope not!
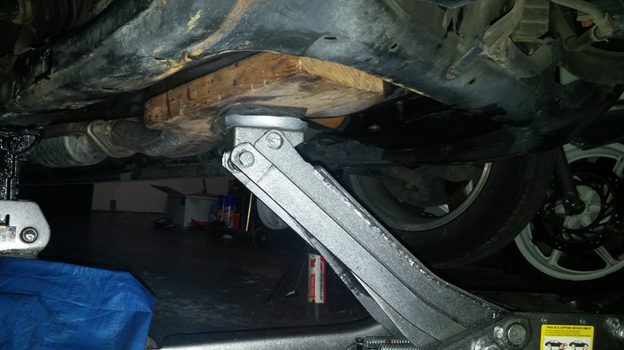
Front wheel drive vehicles give us another reason to love working on them as getting the water pump out on the Avalon requires removing of an engine mount bolt and jacking the engine up via the oil pan.
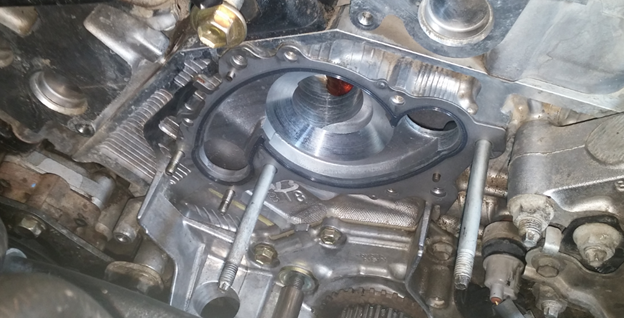
As can be seen, the long studs that locate the water pump don’t allow the pump to be pulled directly off. The pump ends up hitting the frame rails. Lifting the engine about 2 inches gives us the precious space required to slip the pump off the studs. Here is a new water pump gasket going on. I love these kinds of gaskets; they are made of metal and have a formed rubber sealing lip. In my opinion, this is superior to form-a-gasket sealant required on many other water pumps.
Finally, the new water pump is installed, the new idler pulley bearings are bolted in, and the cleaned up backing plate and hardware have found their homes.
With the camshaft sprockets installed, it is now time to route the new timing belt. Once the timing belt is installed with the correct teeth aligned with correct marks on the timing sprockets, the belt tensioner can be installed. We’re almost done!
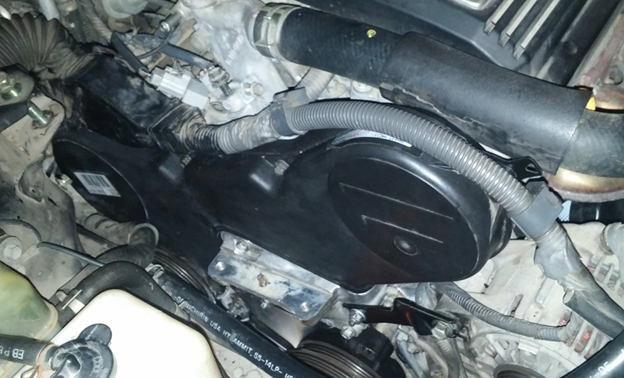
With the timing cover bolted back on and timing belt sticker applied, the faithful Avalon is ready to go for many miles to come.

While I was under the hood, I also replaced the accessory drive belts, the thermostat and the variable valve timing solenoids. It’s important to do research on common issues that are known for your specific vehicle and engine. If you are already down and dirty from doing the timing belt, you might as well change out these other items while you are in there. It will give you peace of mind and save you money and time in the long run.
You Take Care Of It, It Takes Care Of You
The Avalon was speaking to me – it needed help. After performing the above jobs it now runs like new and doesn’t drip a drop of fluids. It’s not my car, mind, but it still gives me a good feeling knowing I’ve been part of what has kept it going.
You don’t need to be a car whisperer to pick up on the hints that your vehicle needs repair. Just because your appliance works reliably day-in and day-out doesn’t mean it will stay that way forever. When your appliance requires repair, don’t be quick to simply chuck it and move on to the next new thing. Not only can it be financially viable to keep your trusty machine running, it can be good for your soul. You’ve given new life to your vehicle. Give it a chance, because after all, it’s probably done the same for you.
EXPENSES:
- Timing Belt: $49.51
- Timing Belt Tensioner: $31.78
- Camshaft & Crankshaft Seals: $21.52
- Water Pump: $59.99
- Idler Bearings: $56.22
- Accessory Belts: $33.11
- Thermostat: $20.50
- Coolant: $40
- VVT Solenoids: $105
Leave a Reply